{success} This Feature only available in Eventmie Pro FullyLoaded
Reserved Seating
Add any kind of seating arrangement e.g Stadiums, Townhalls, Cinema, Restaurants, Lounges, etc.
Requirements
Before start creating reserved seating tickets, you need two types of good quality images-
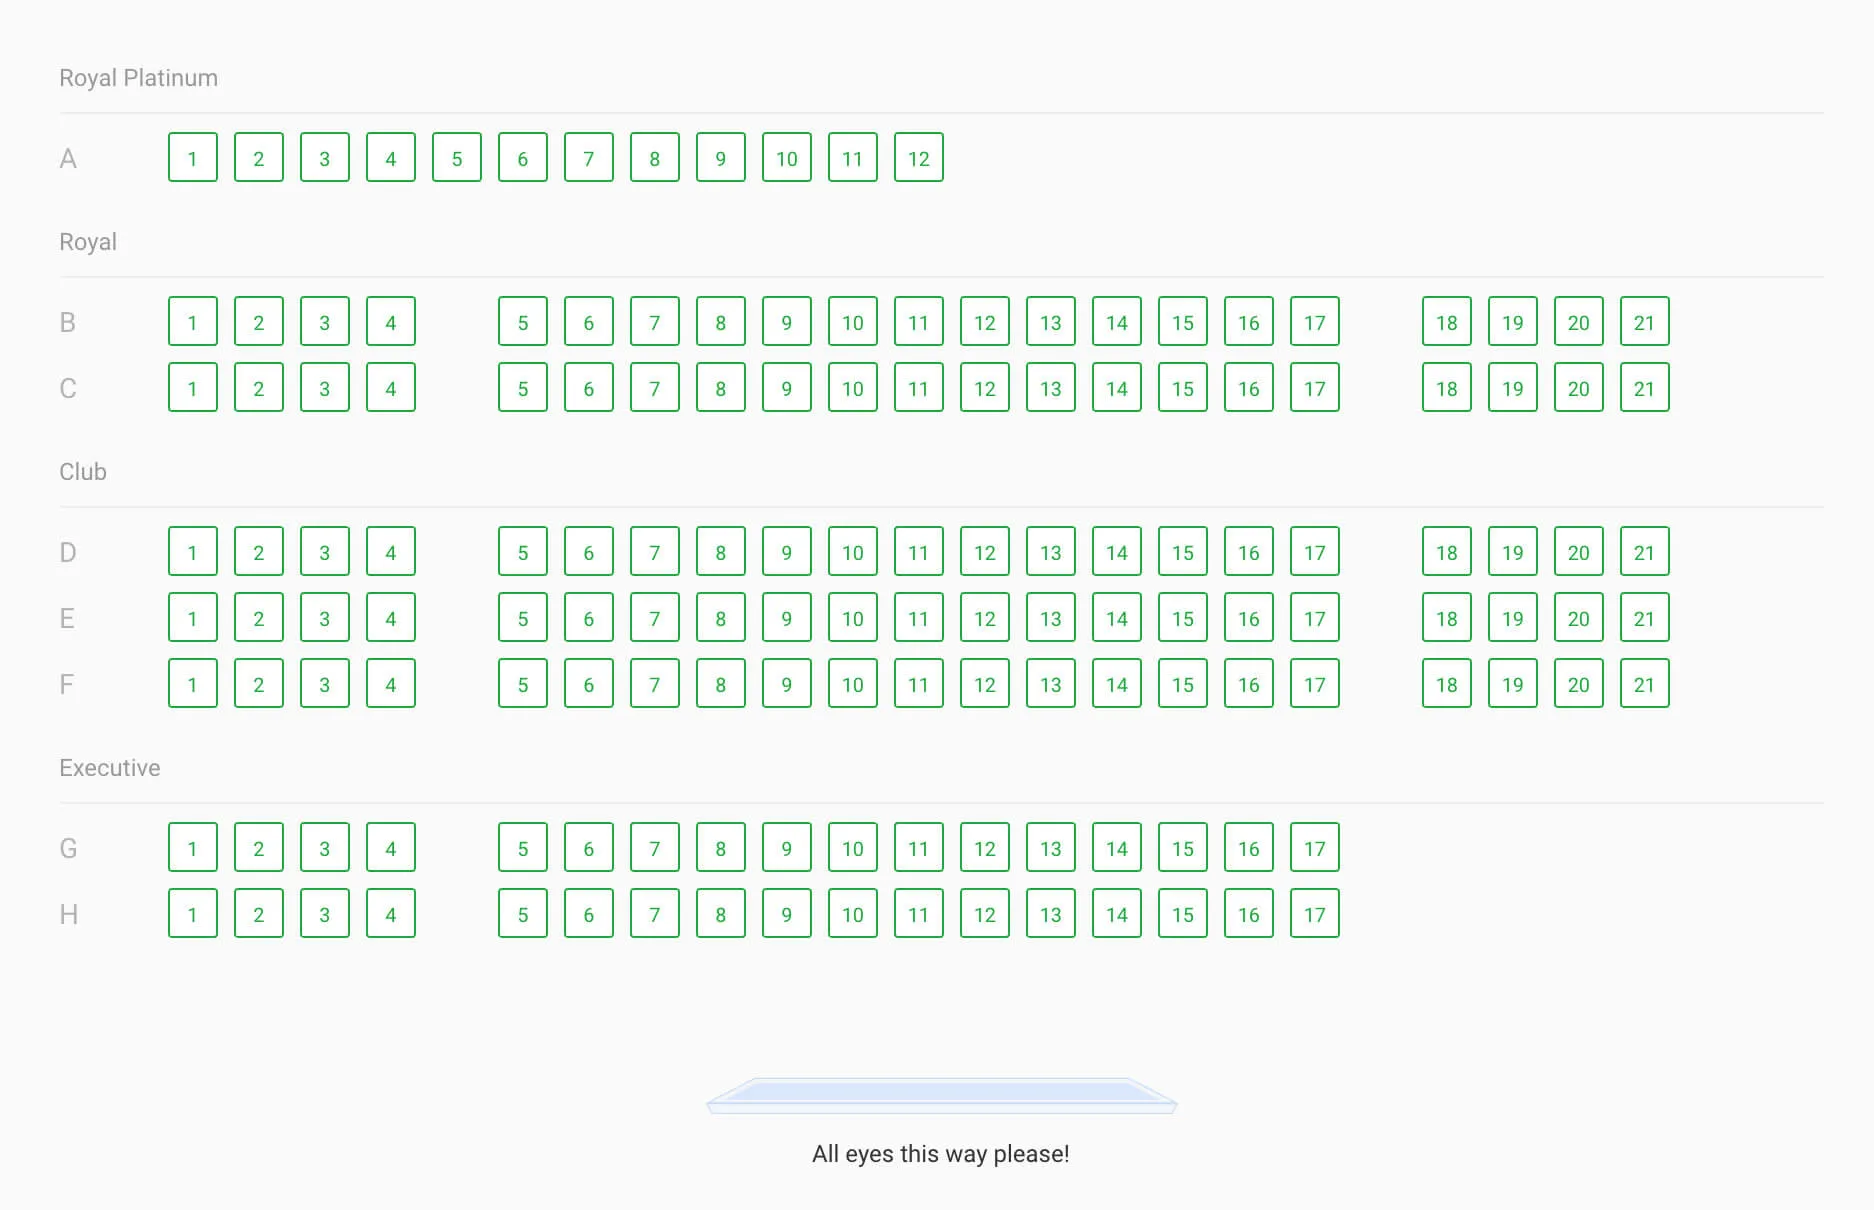
- A full image of seating arrangement. Here's a sample image-
- Then, you'll need cropped images for different tickets of different types of seats like executive, vip, etc. Here are sample images-


Add Reserved Seating
Follow the below steps to add reserved seating tickets.
-
Go to Event Edit Page -> Tickets Tab.
-
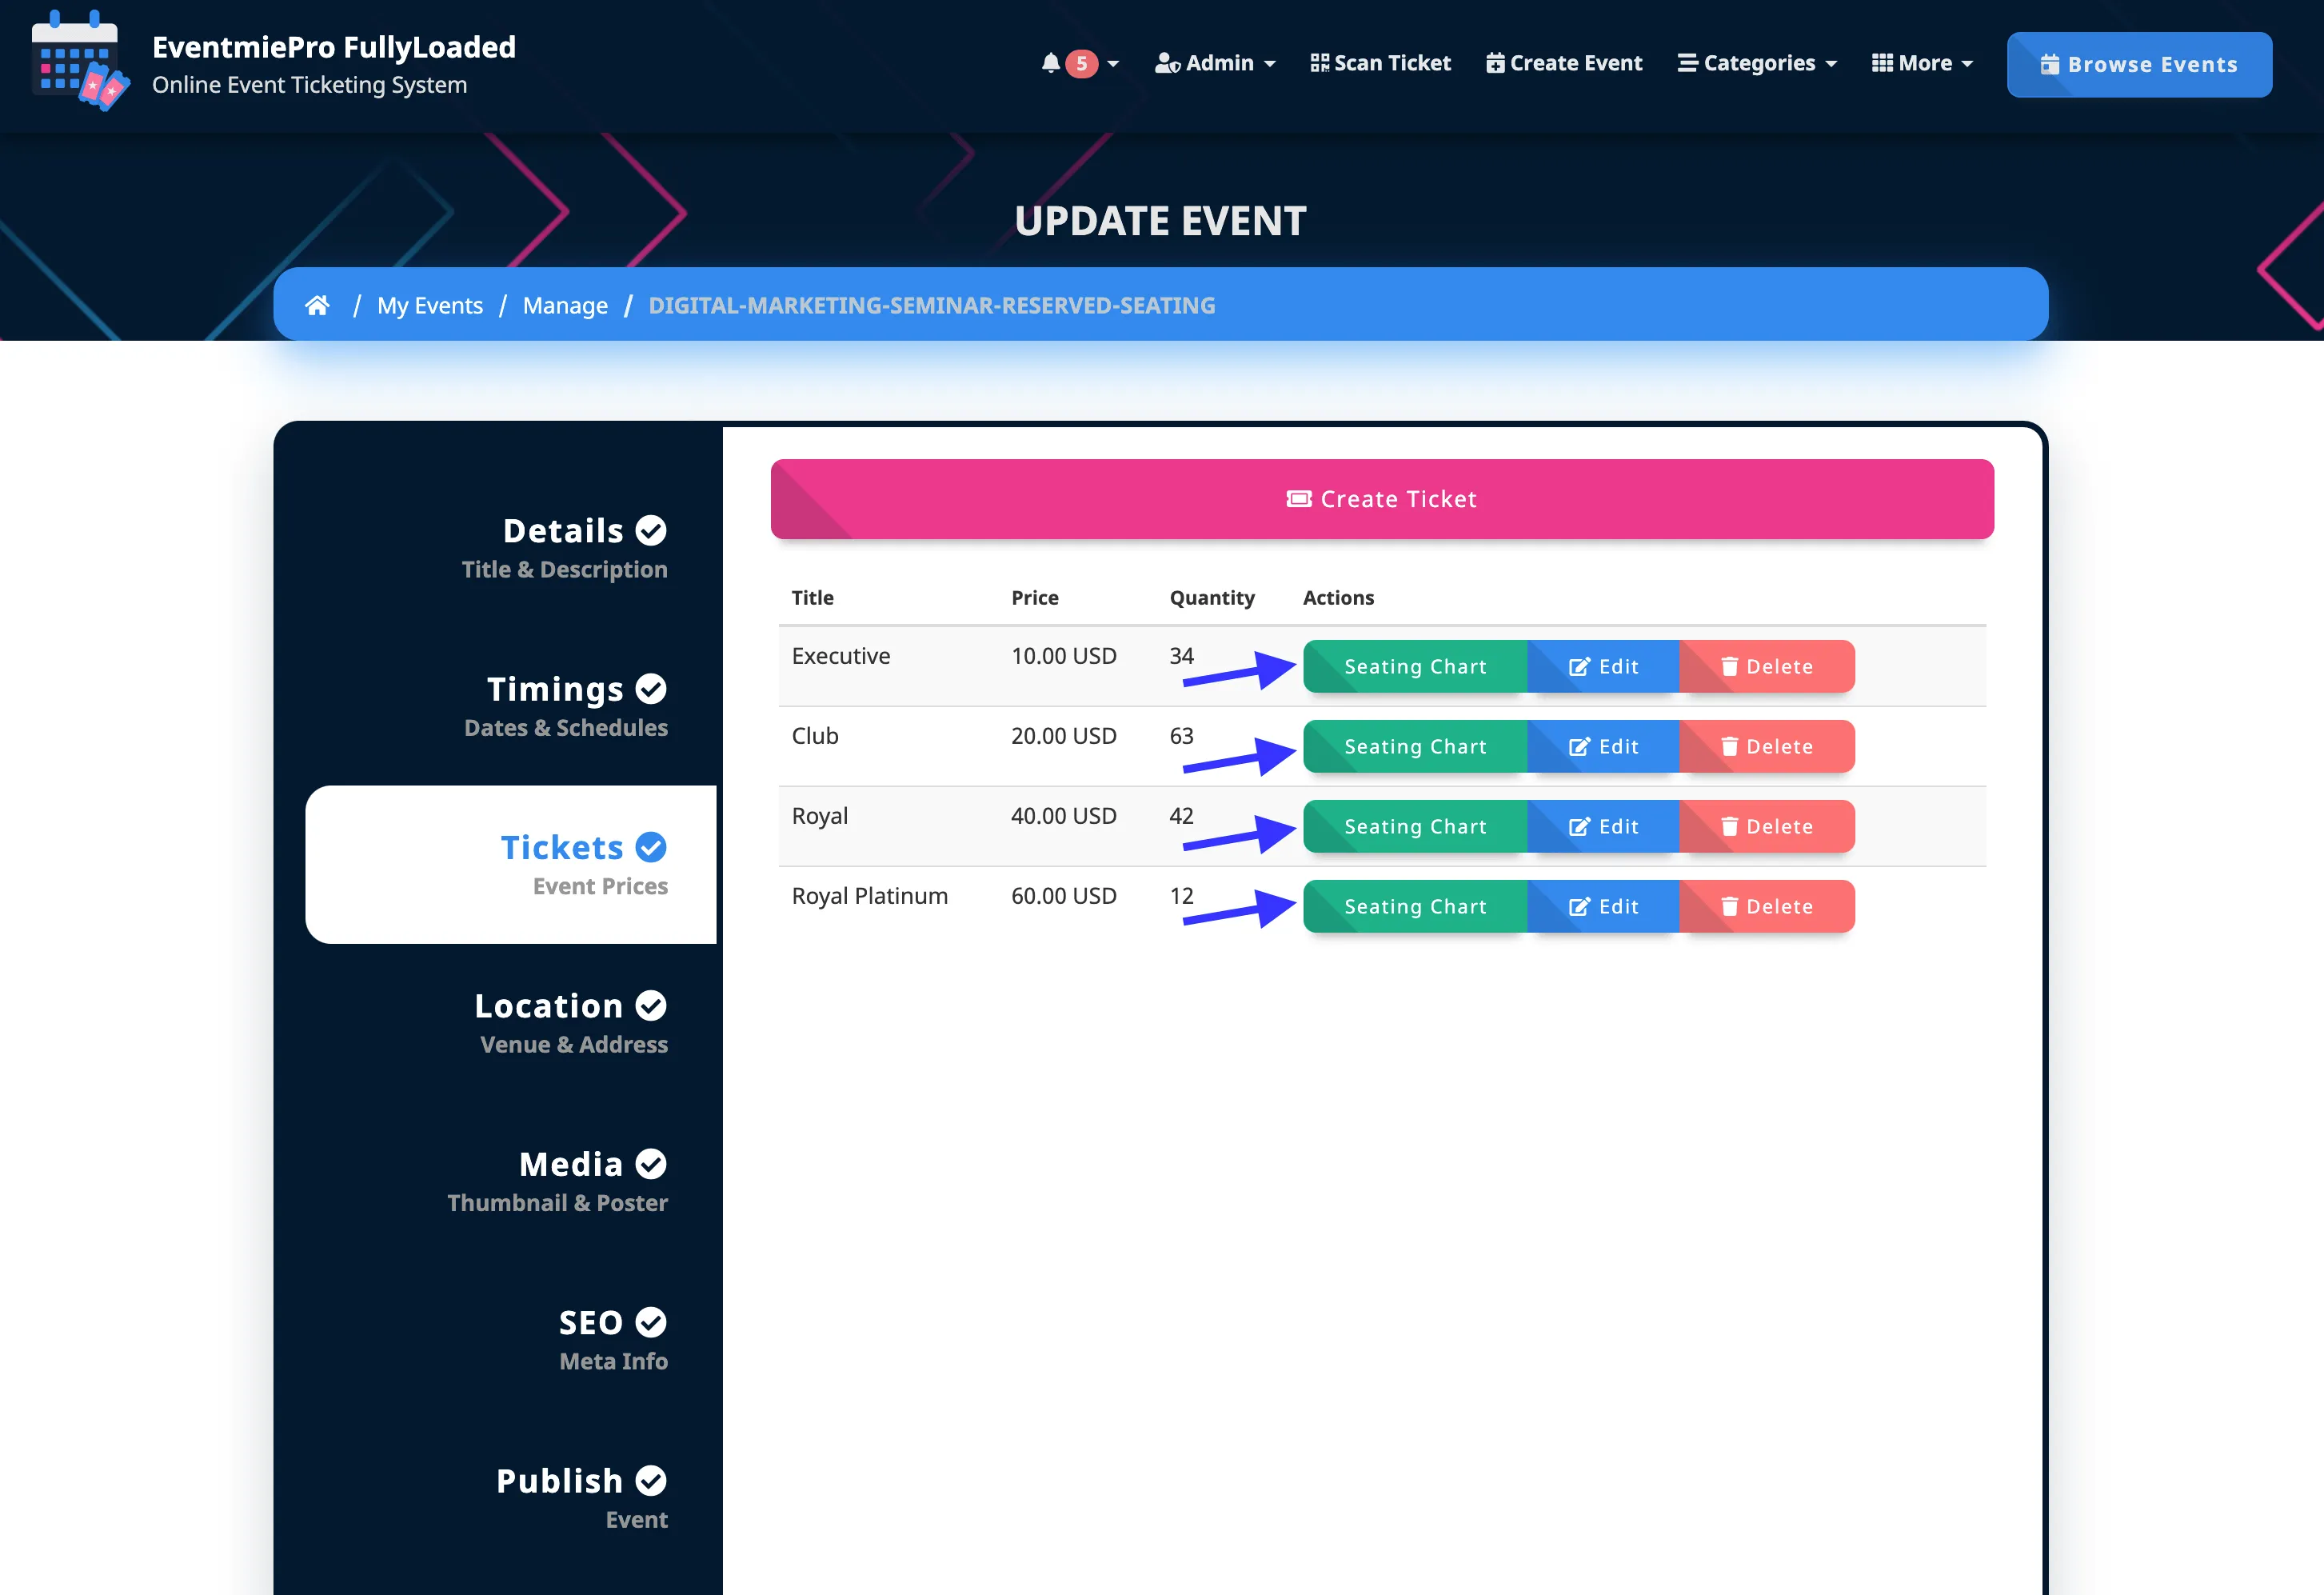
Create Tickets for the event.
-
Then click Seating Chart button.
-
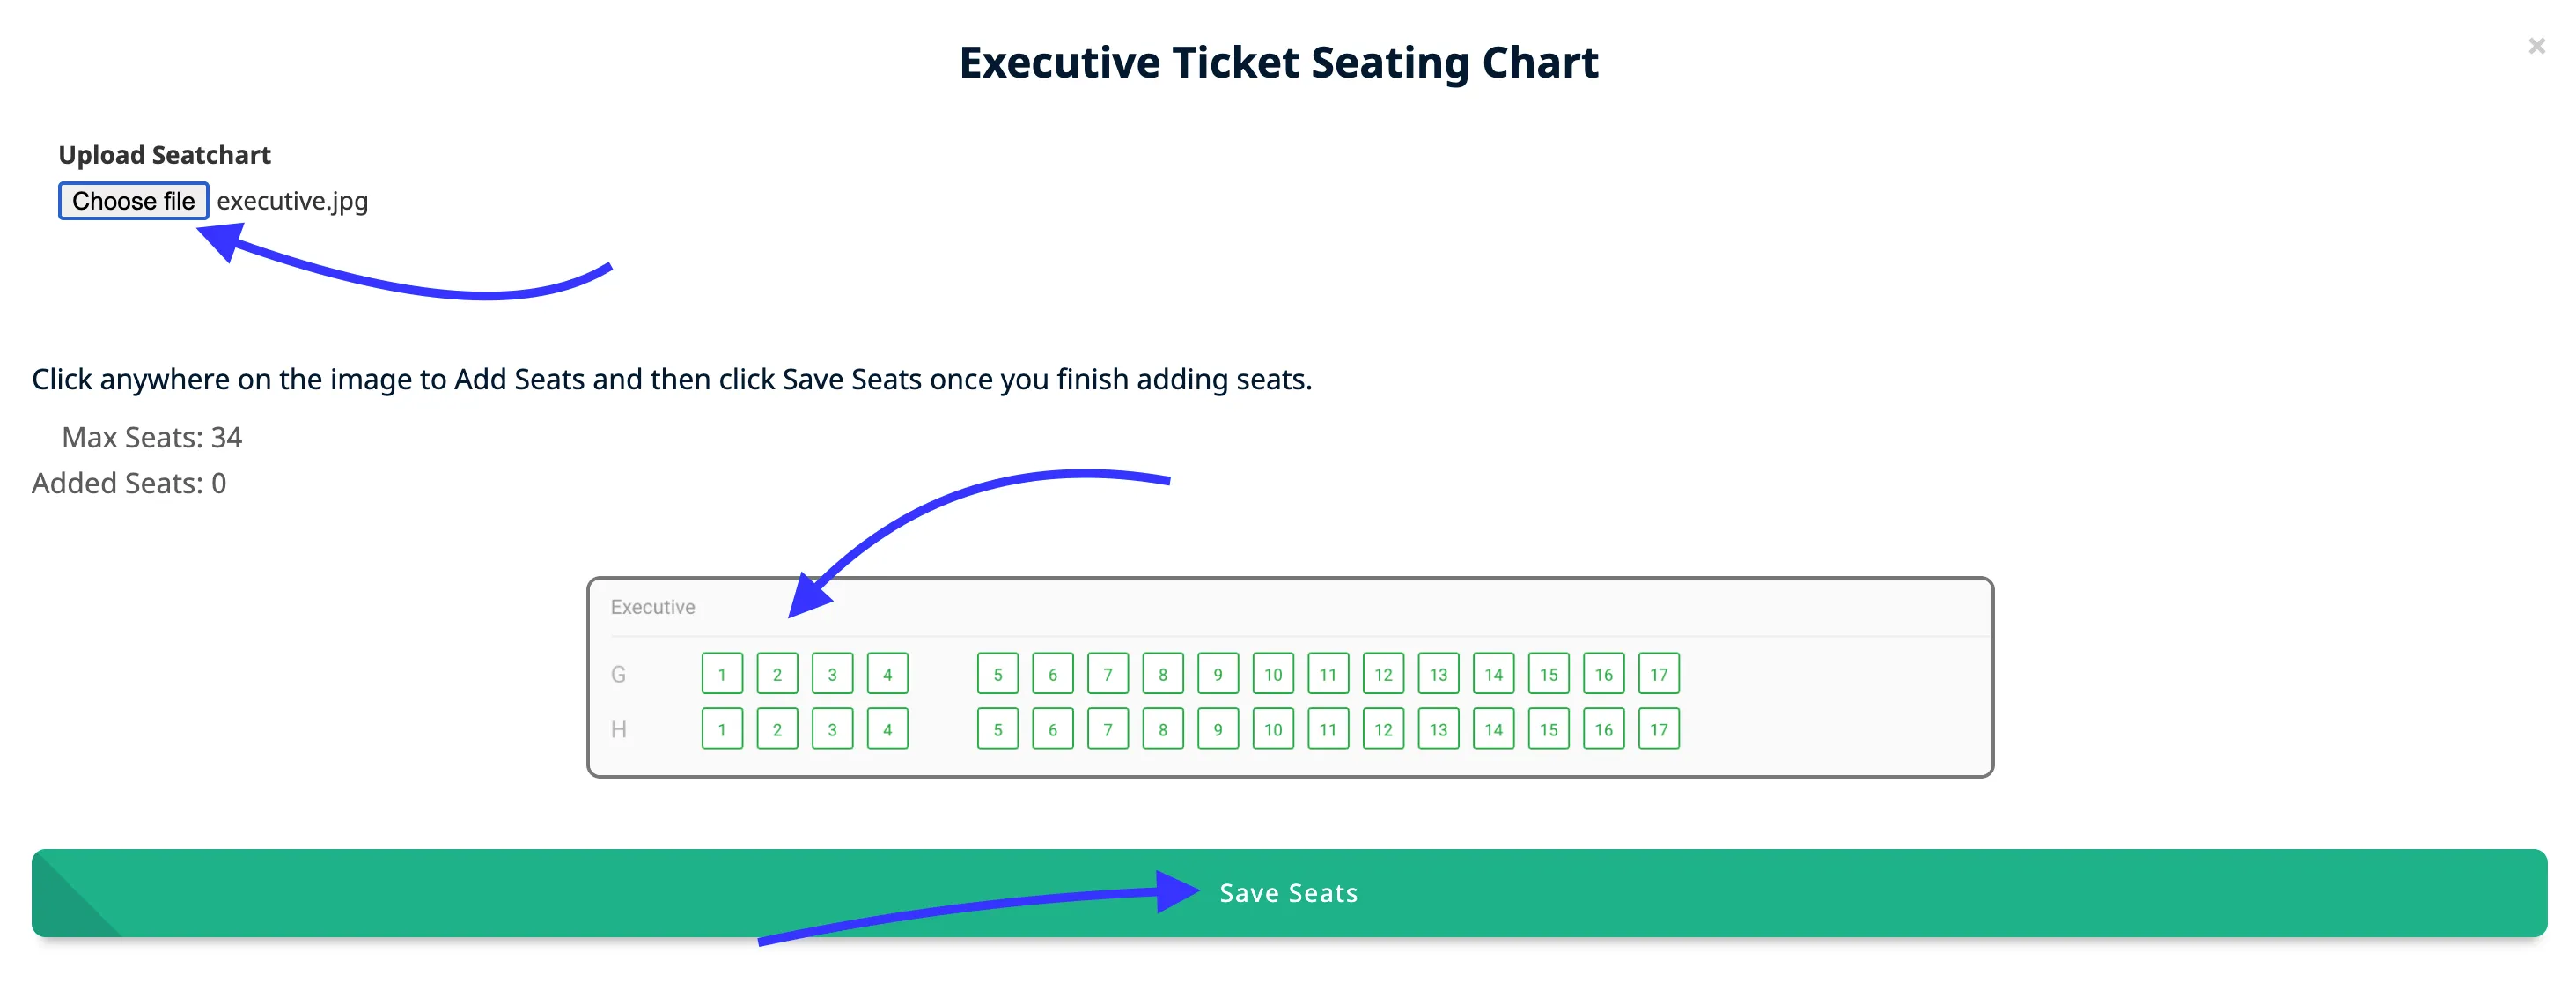
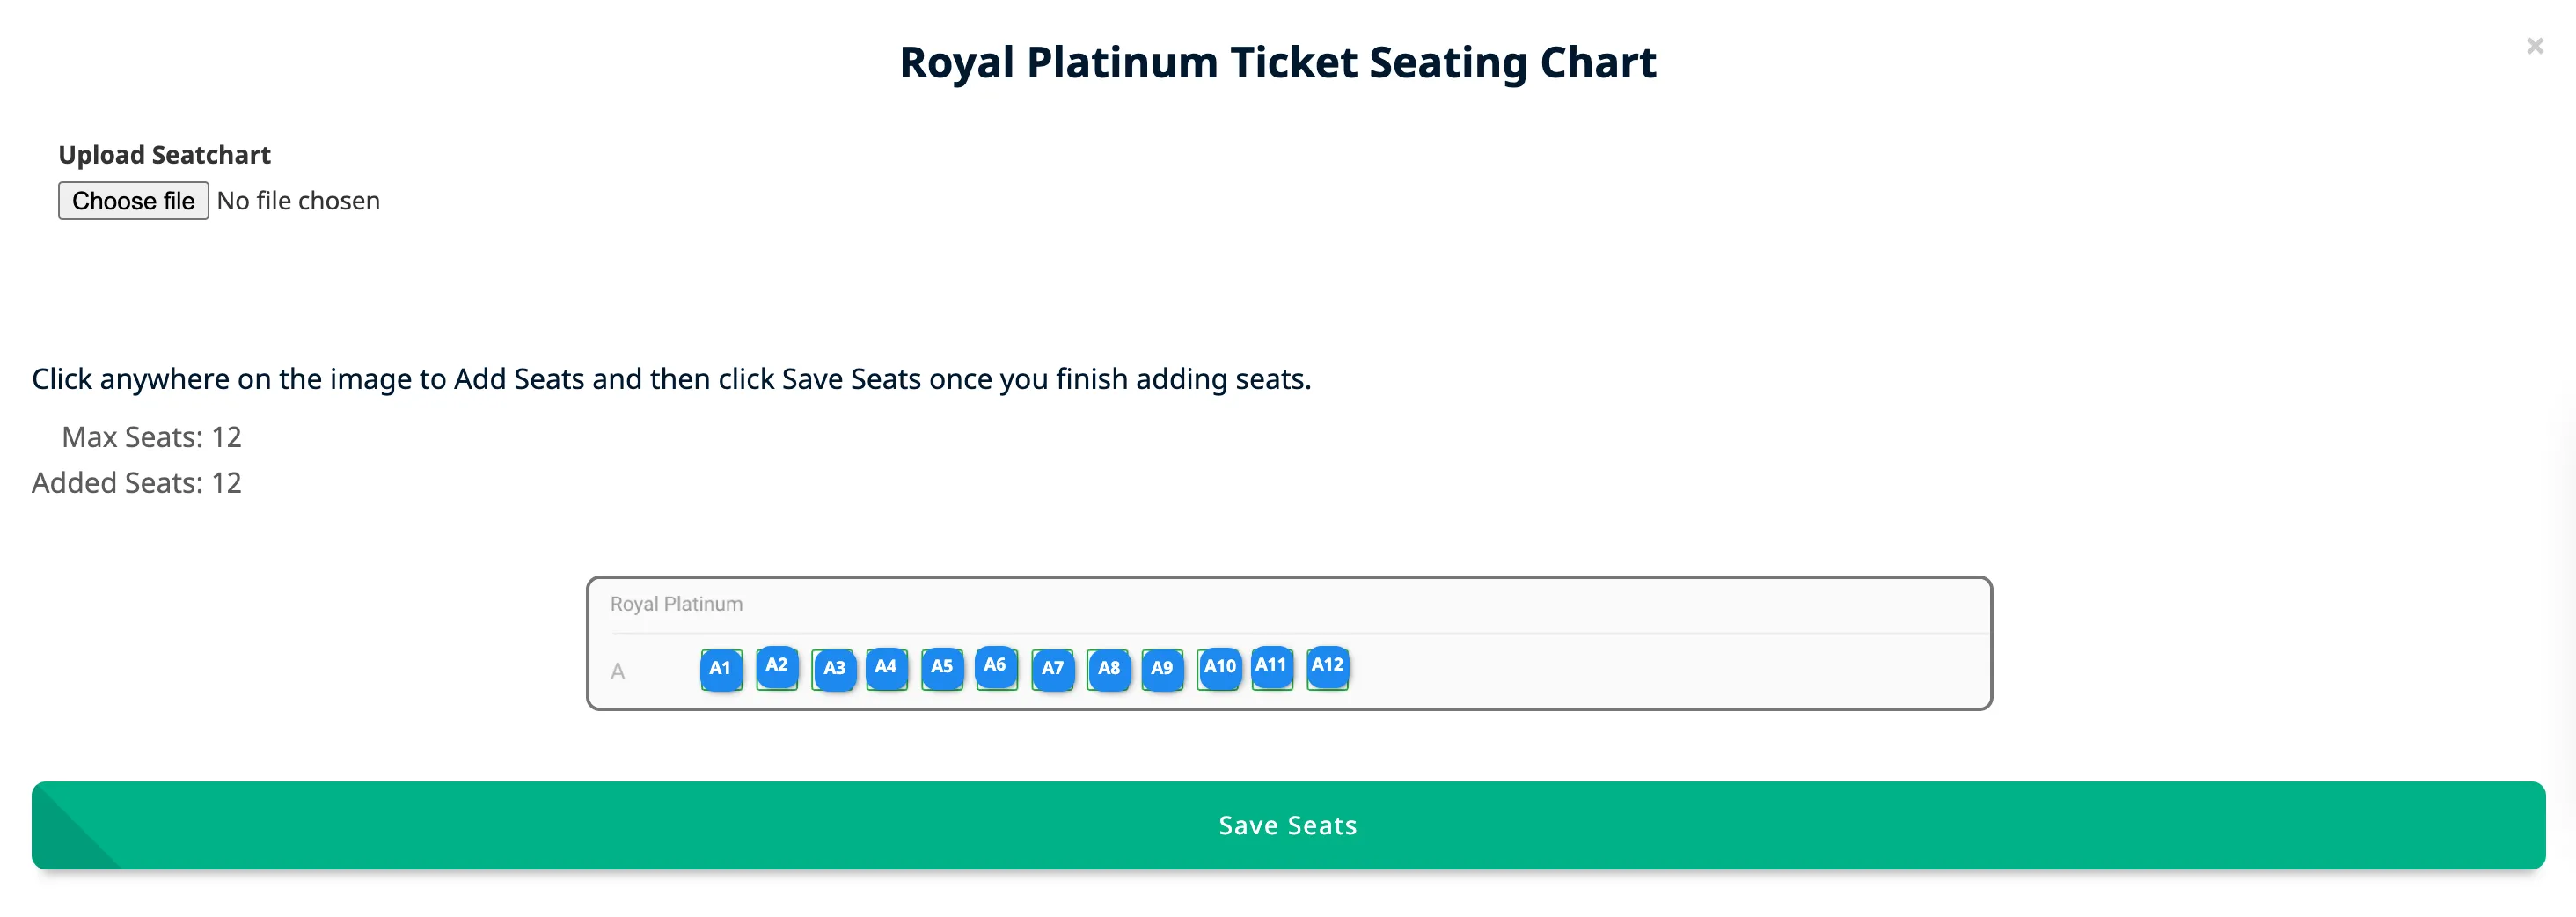
On the Popup, upload cropped particular ticket seating image.
-
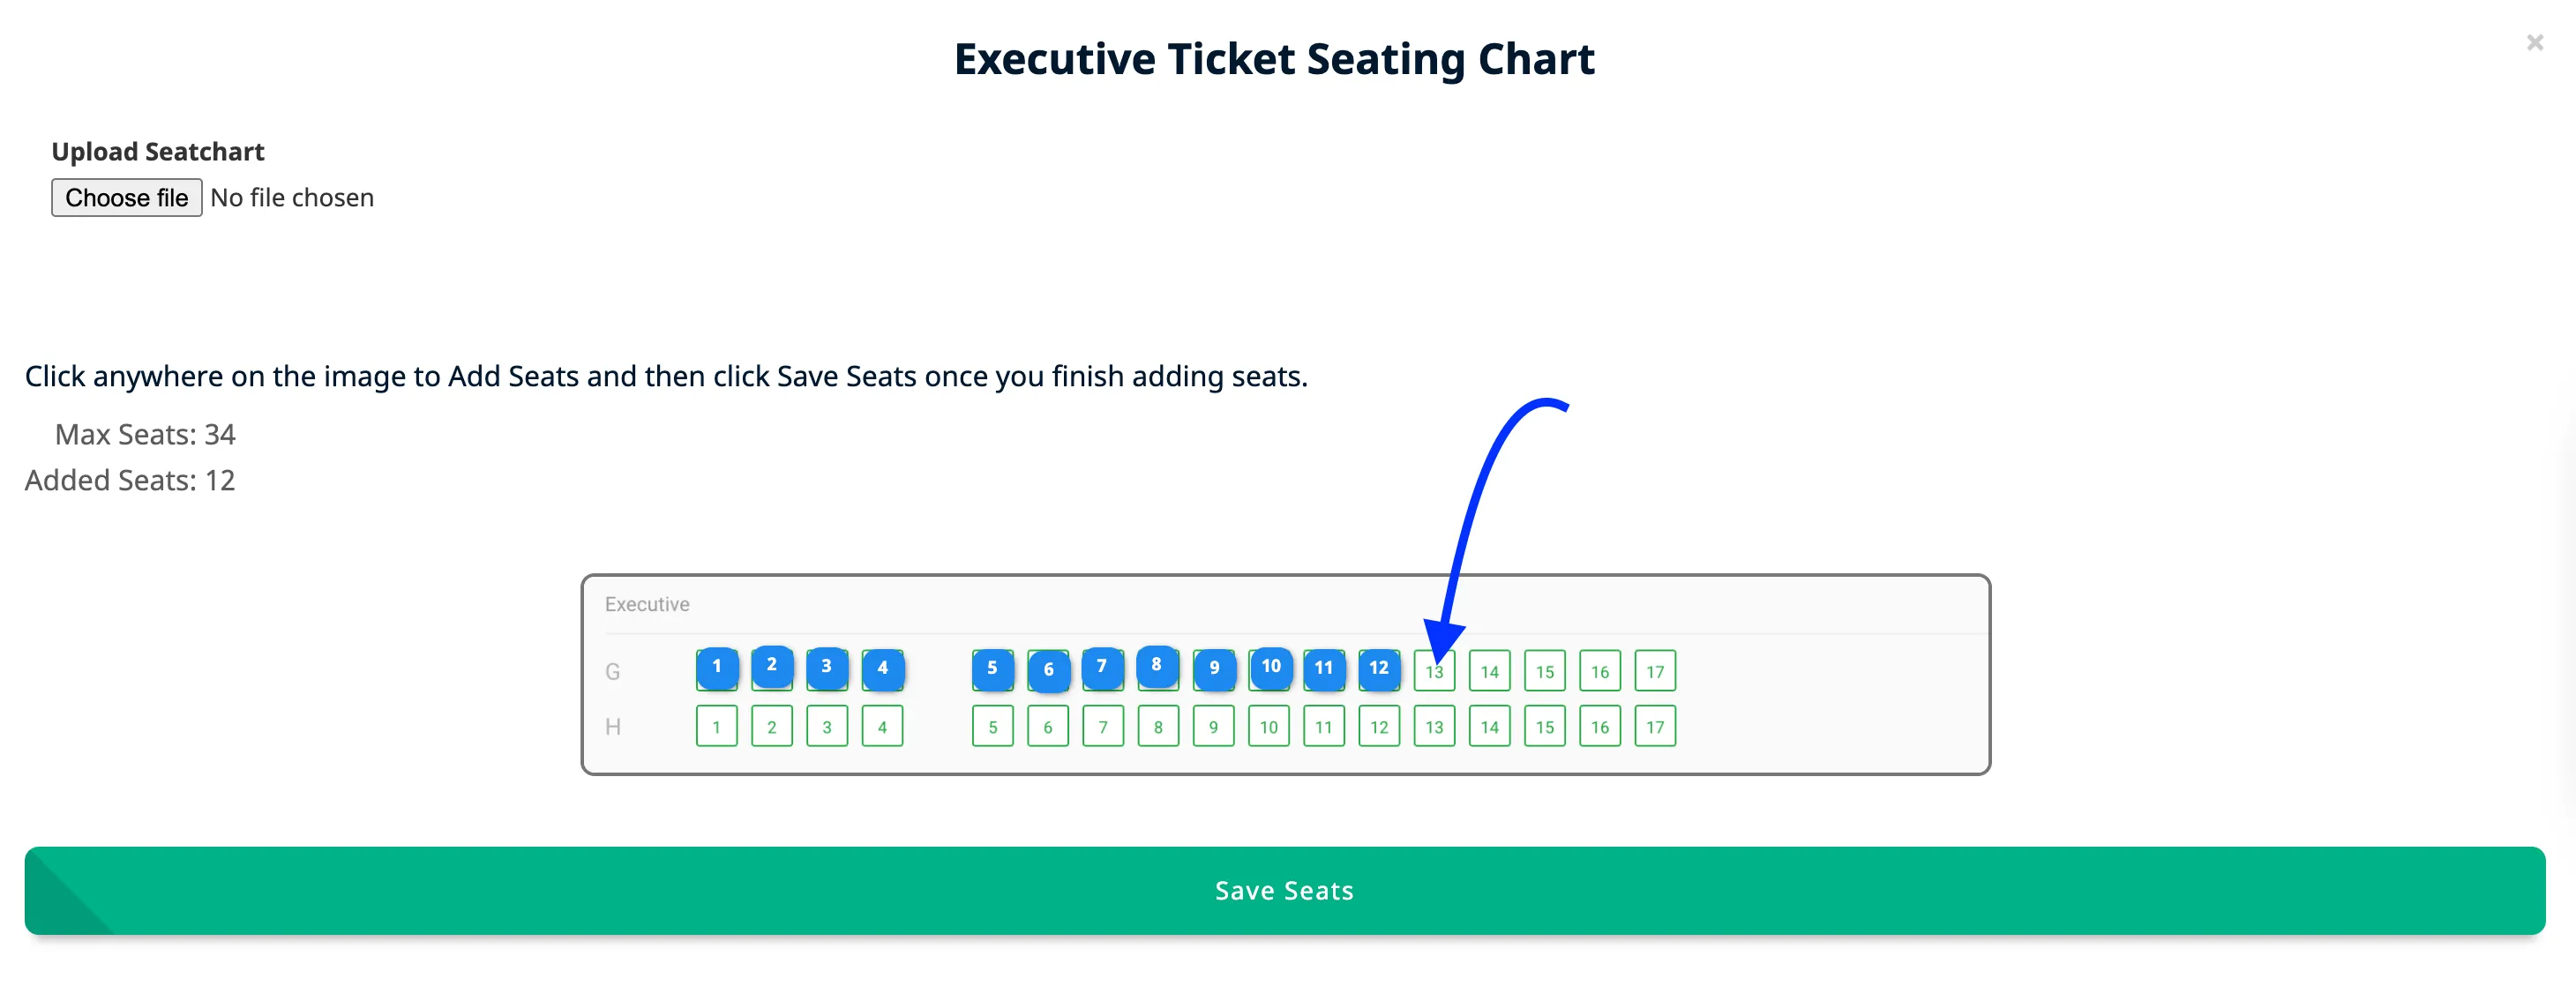
Then, start clicking on each seat block to add Seating. Click in the center of each seat block to add seats consistently.
-
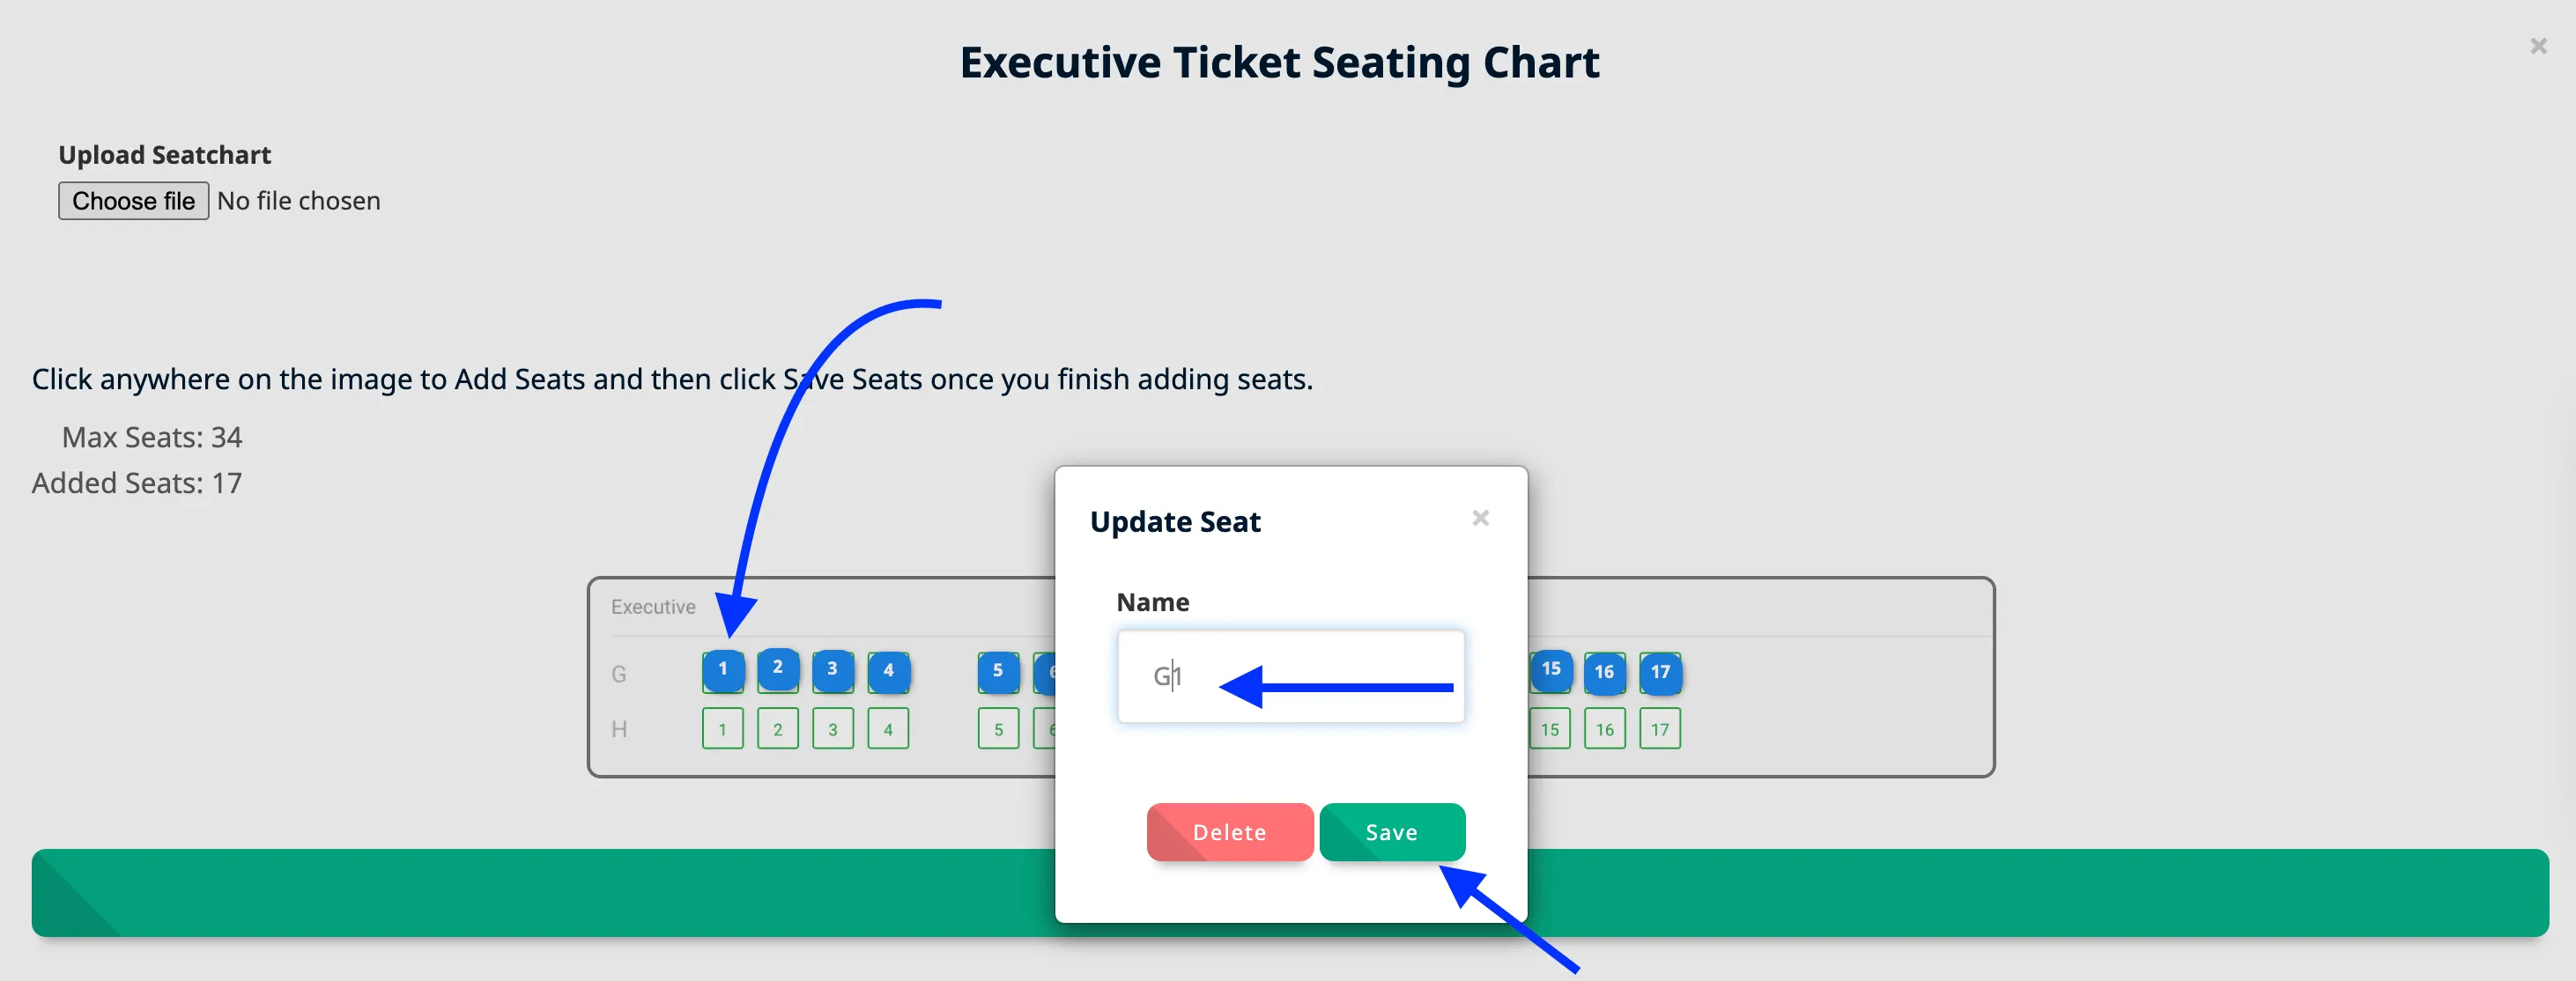
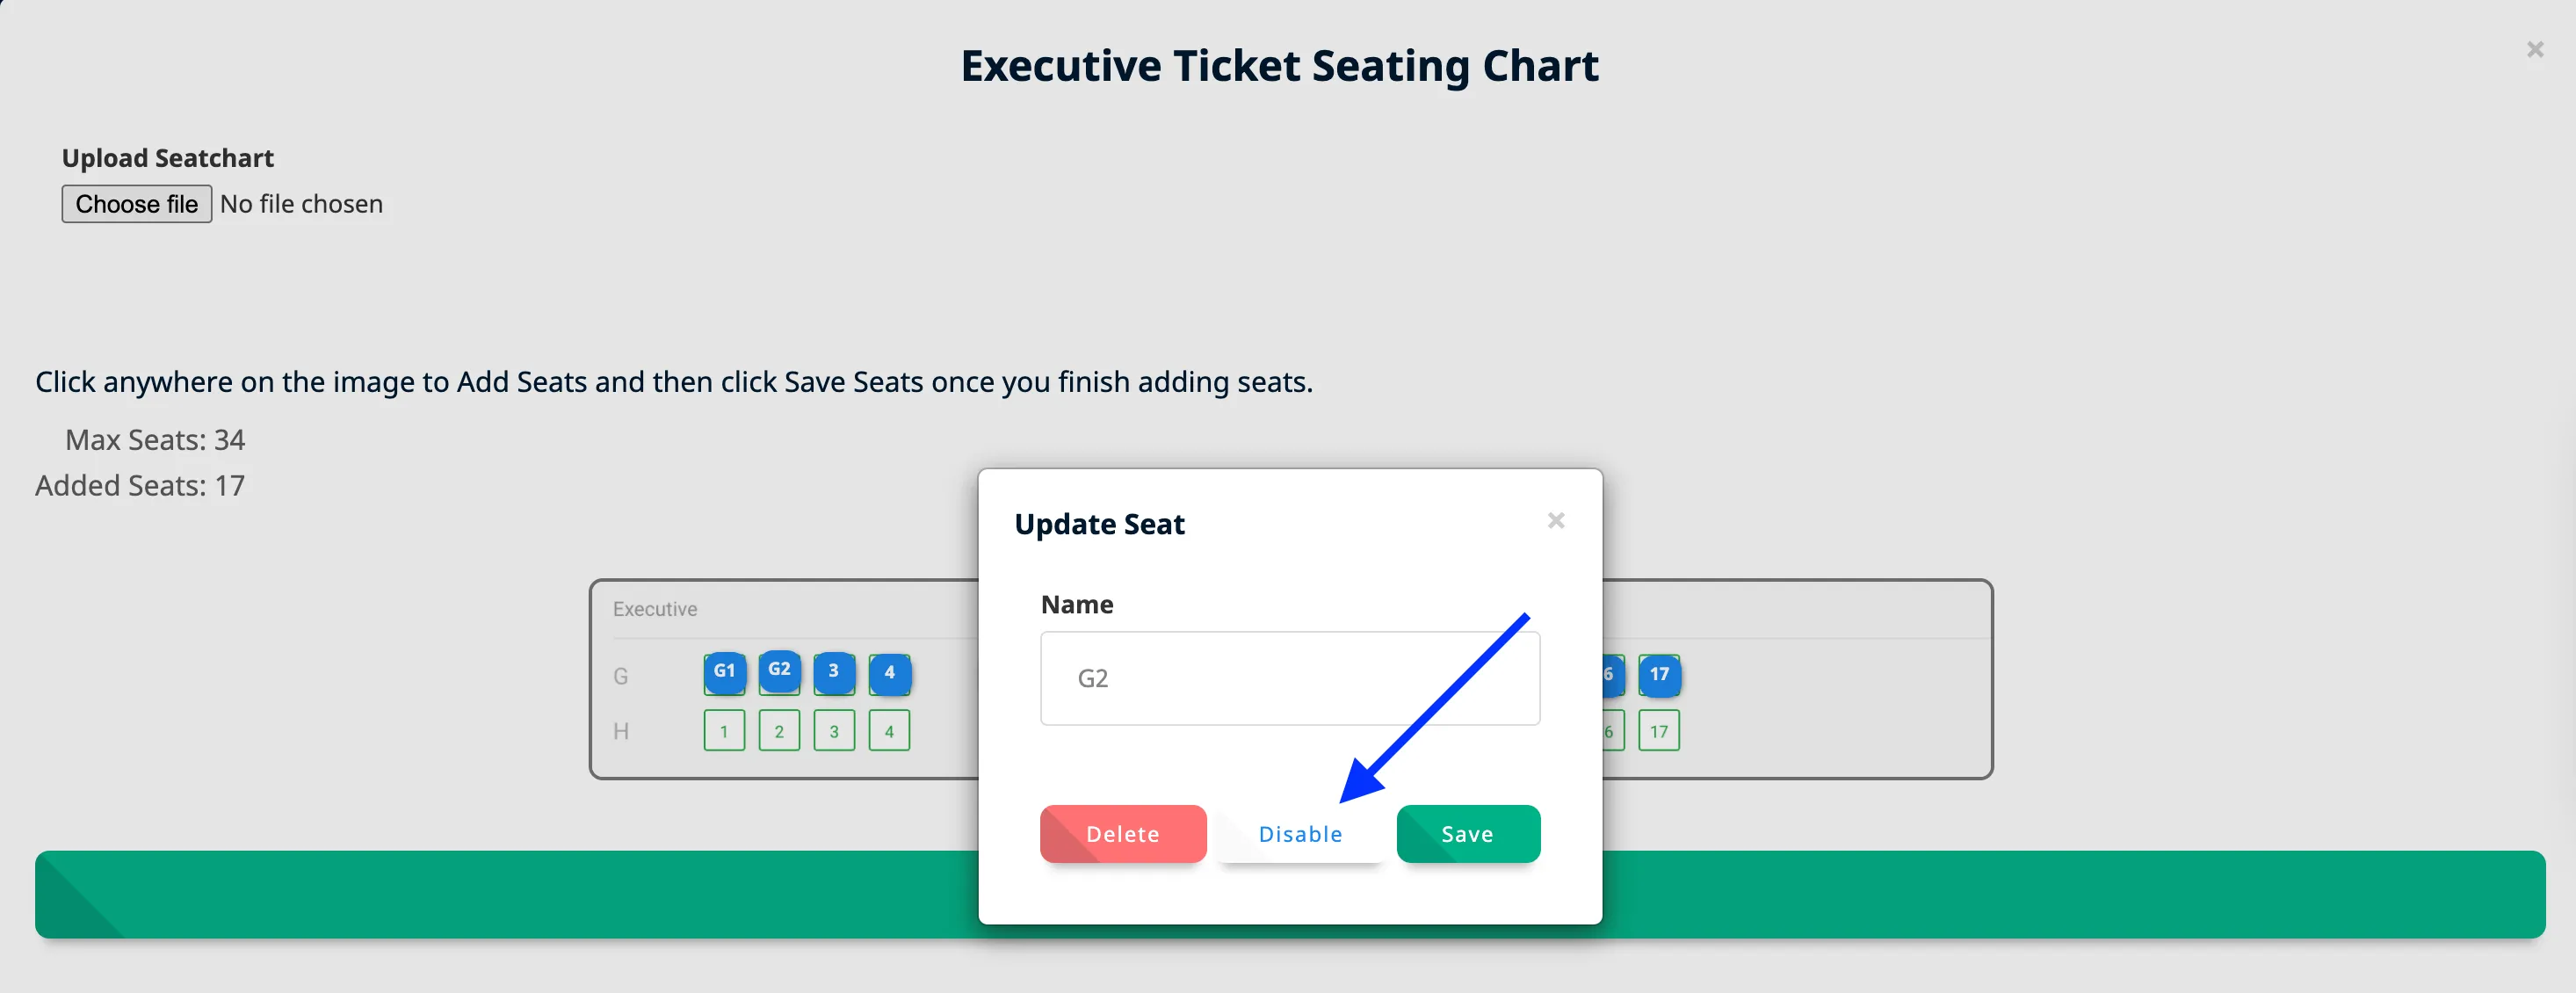
You can rename seats by clicking on the Seat you added.
-
You can also disable a seat after adding it. The disabled seats won't be able to booked, but they'll show as disabled seats on Checkout popup.
-
You can also disable seats for pre-reserved or advanced-reserved seats.
-
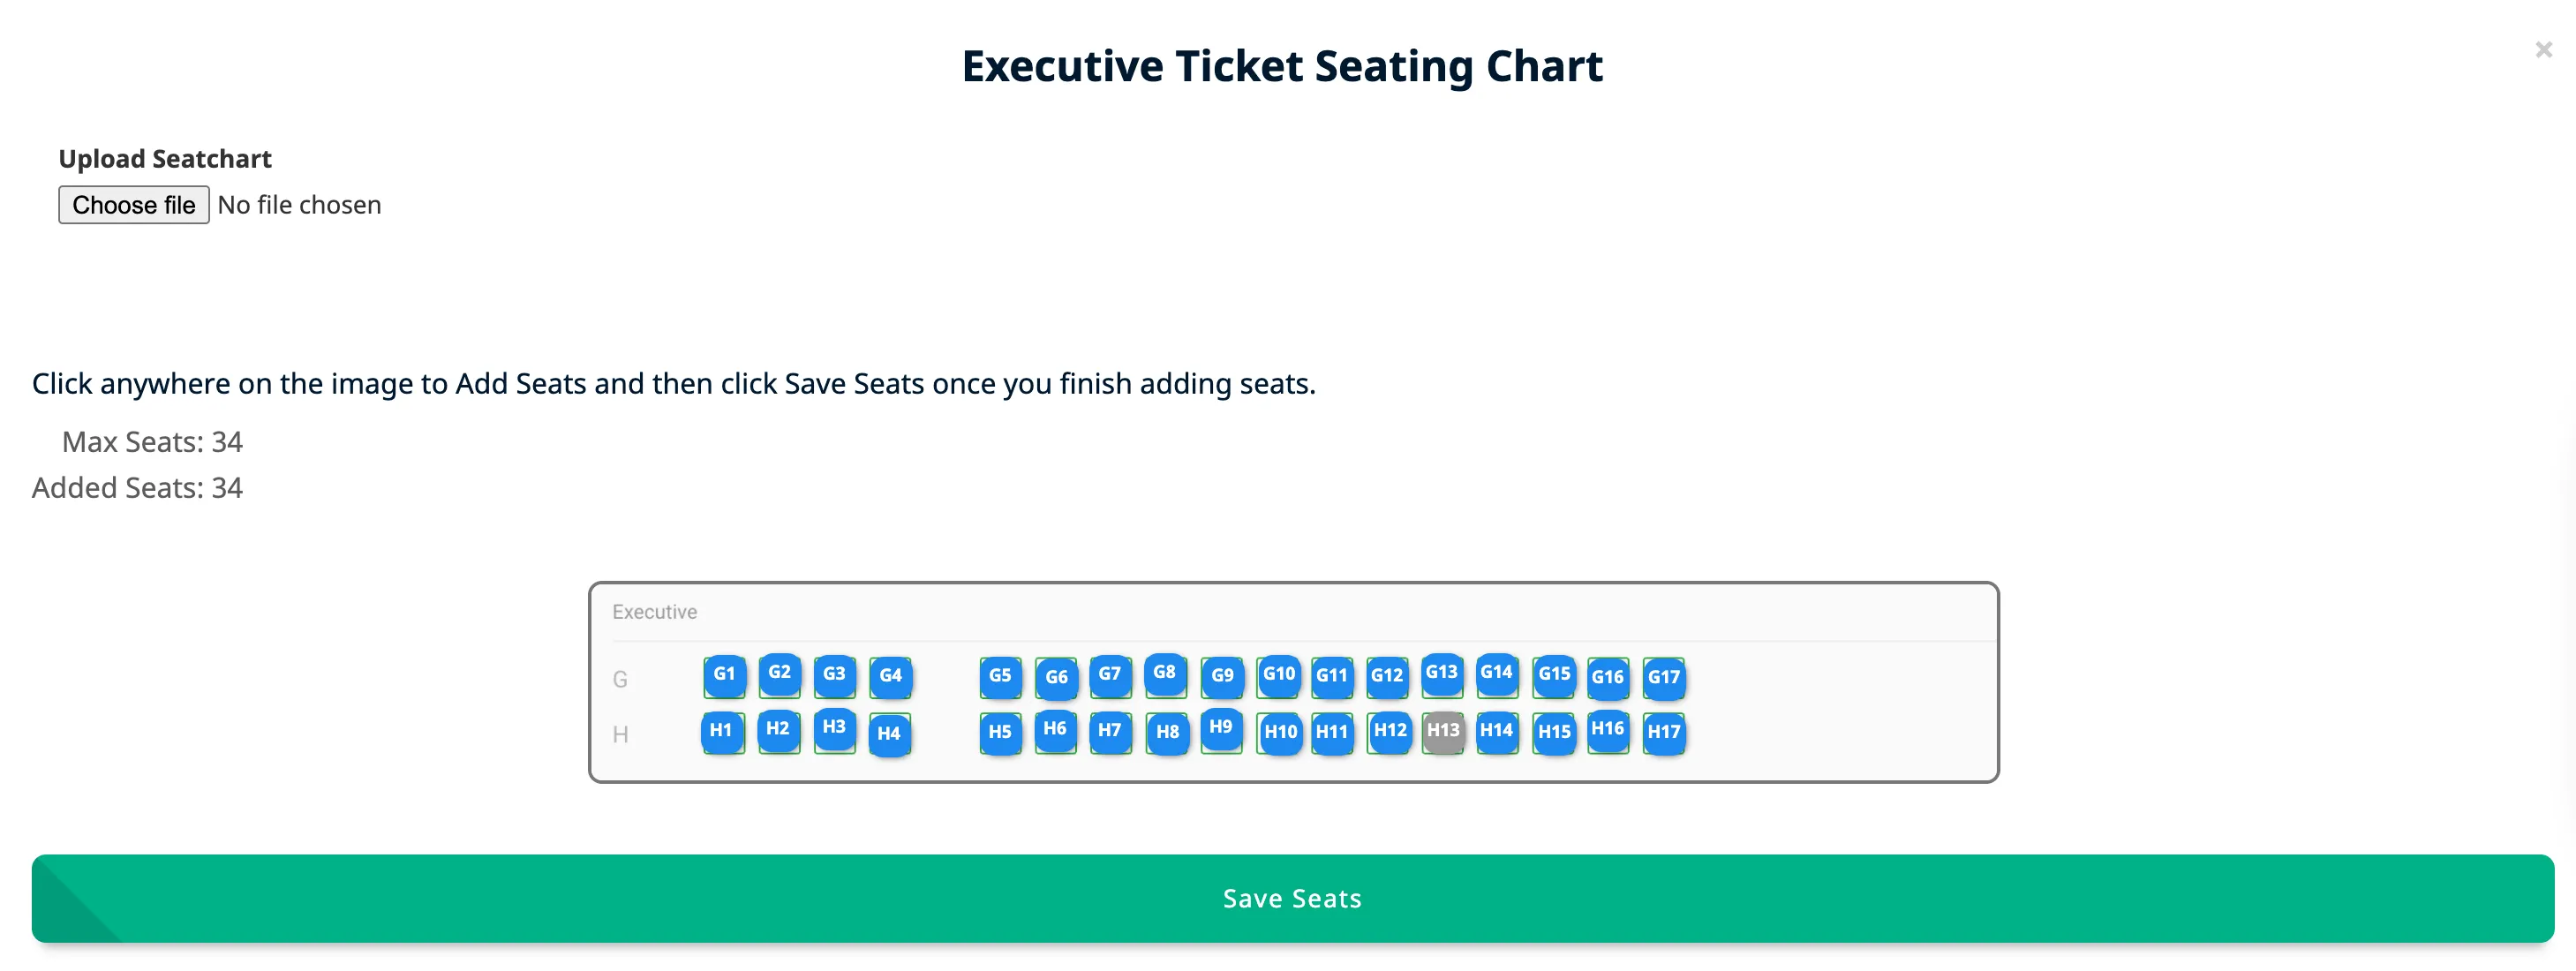
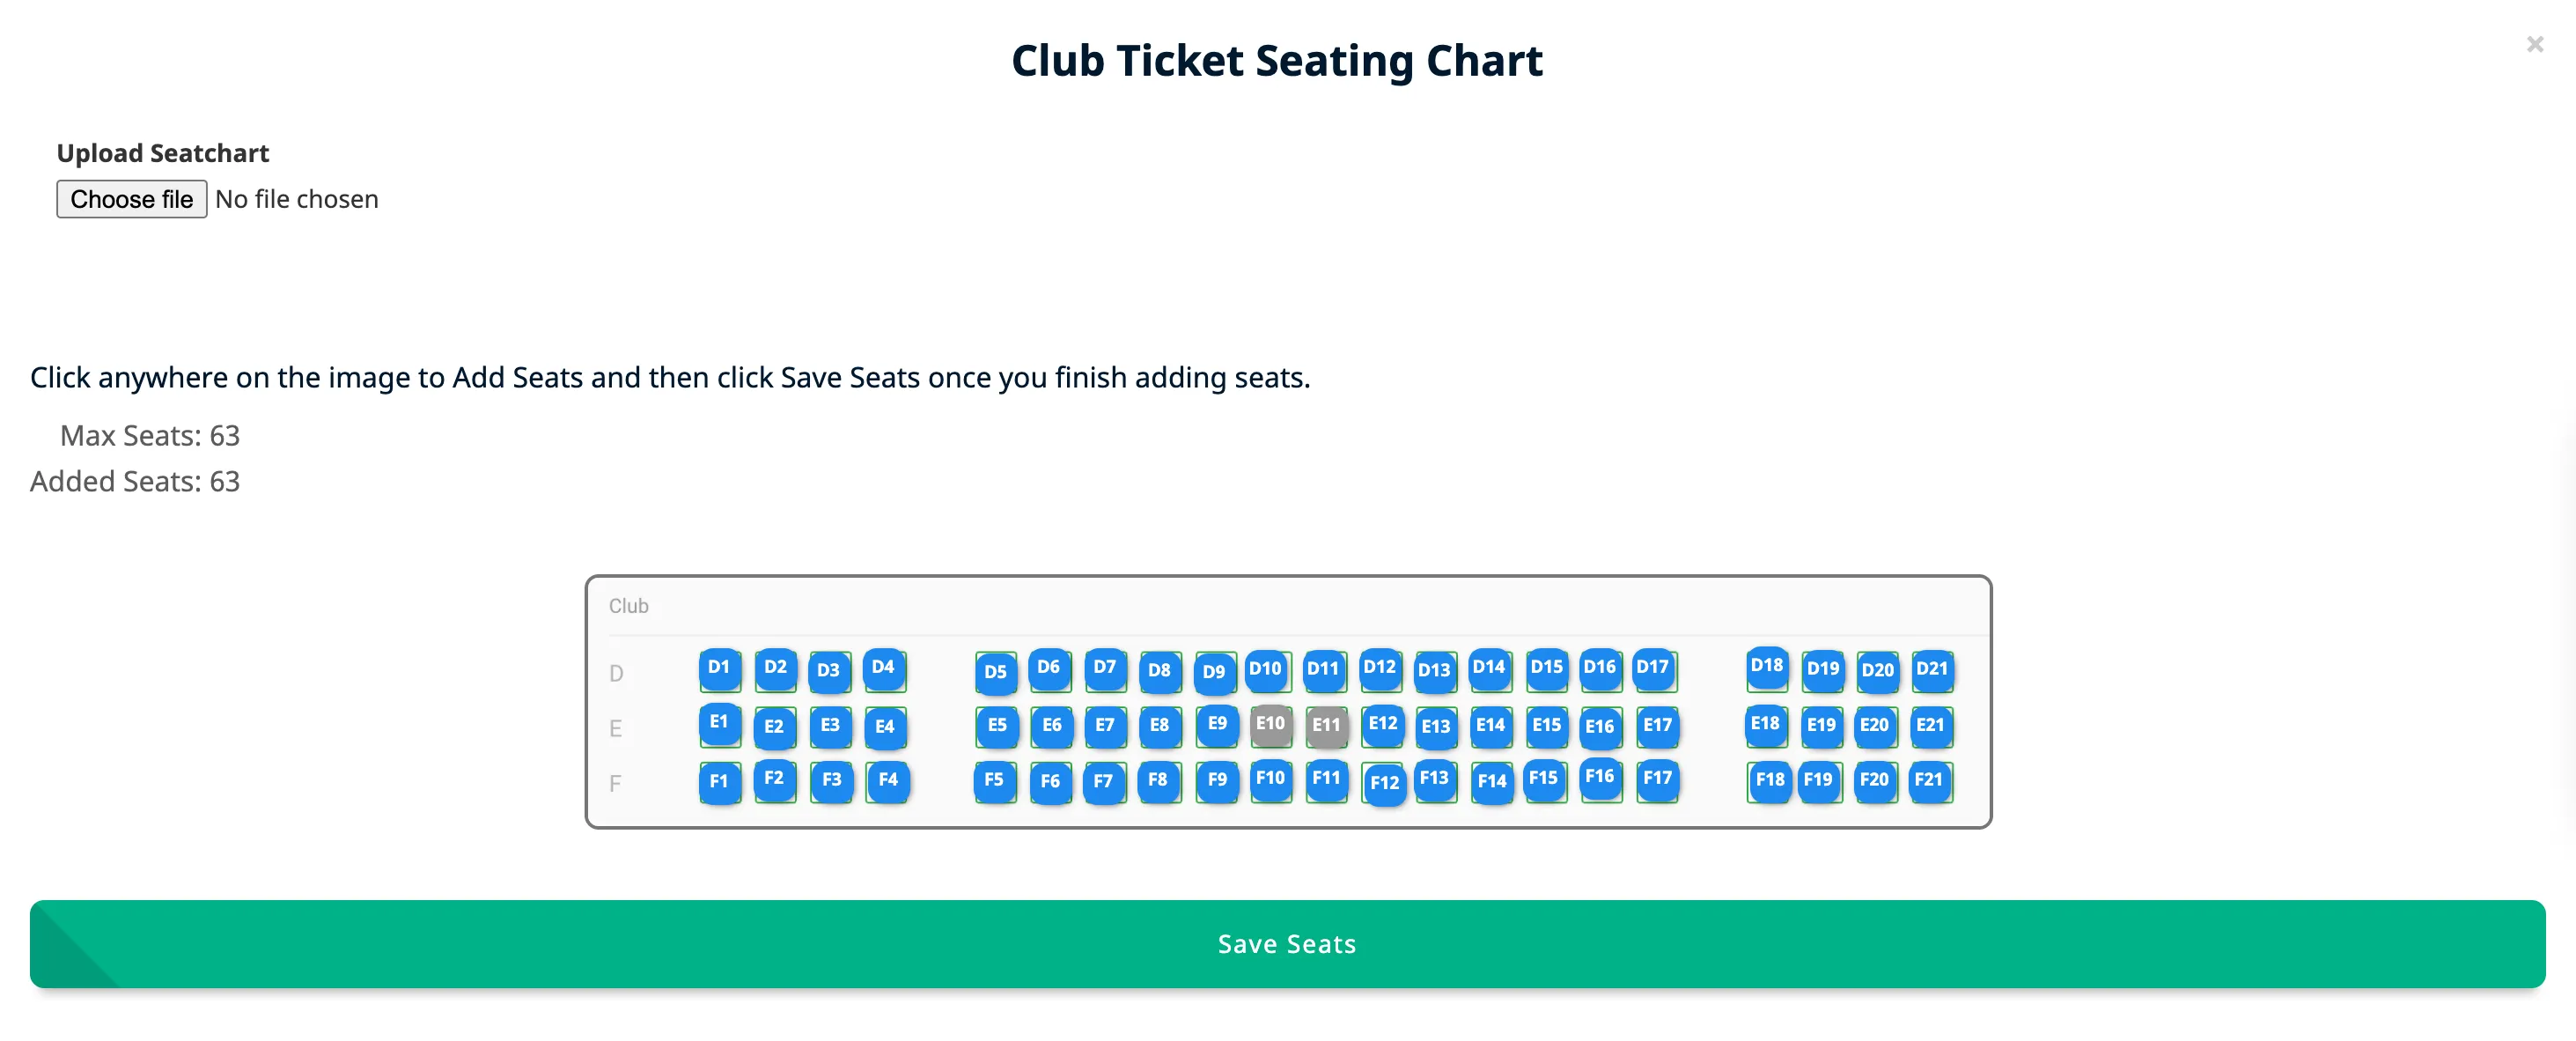
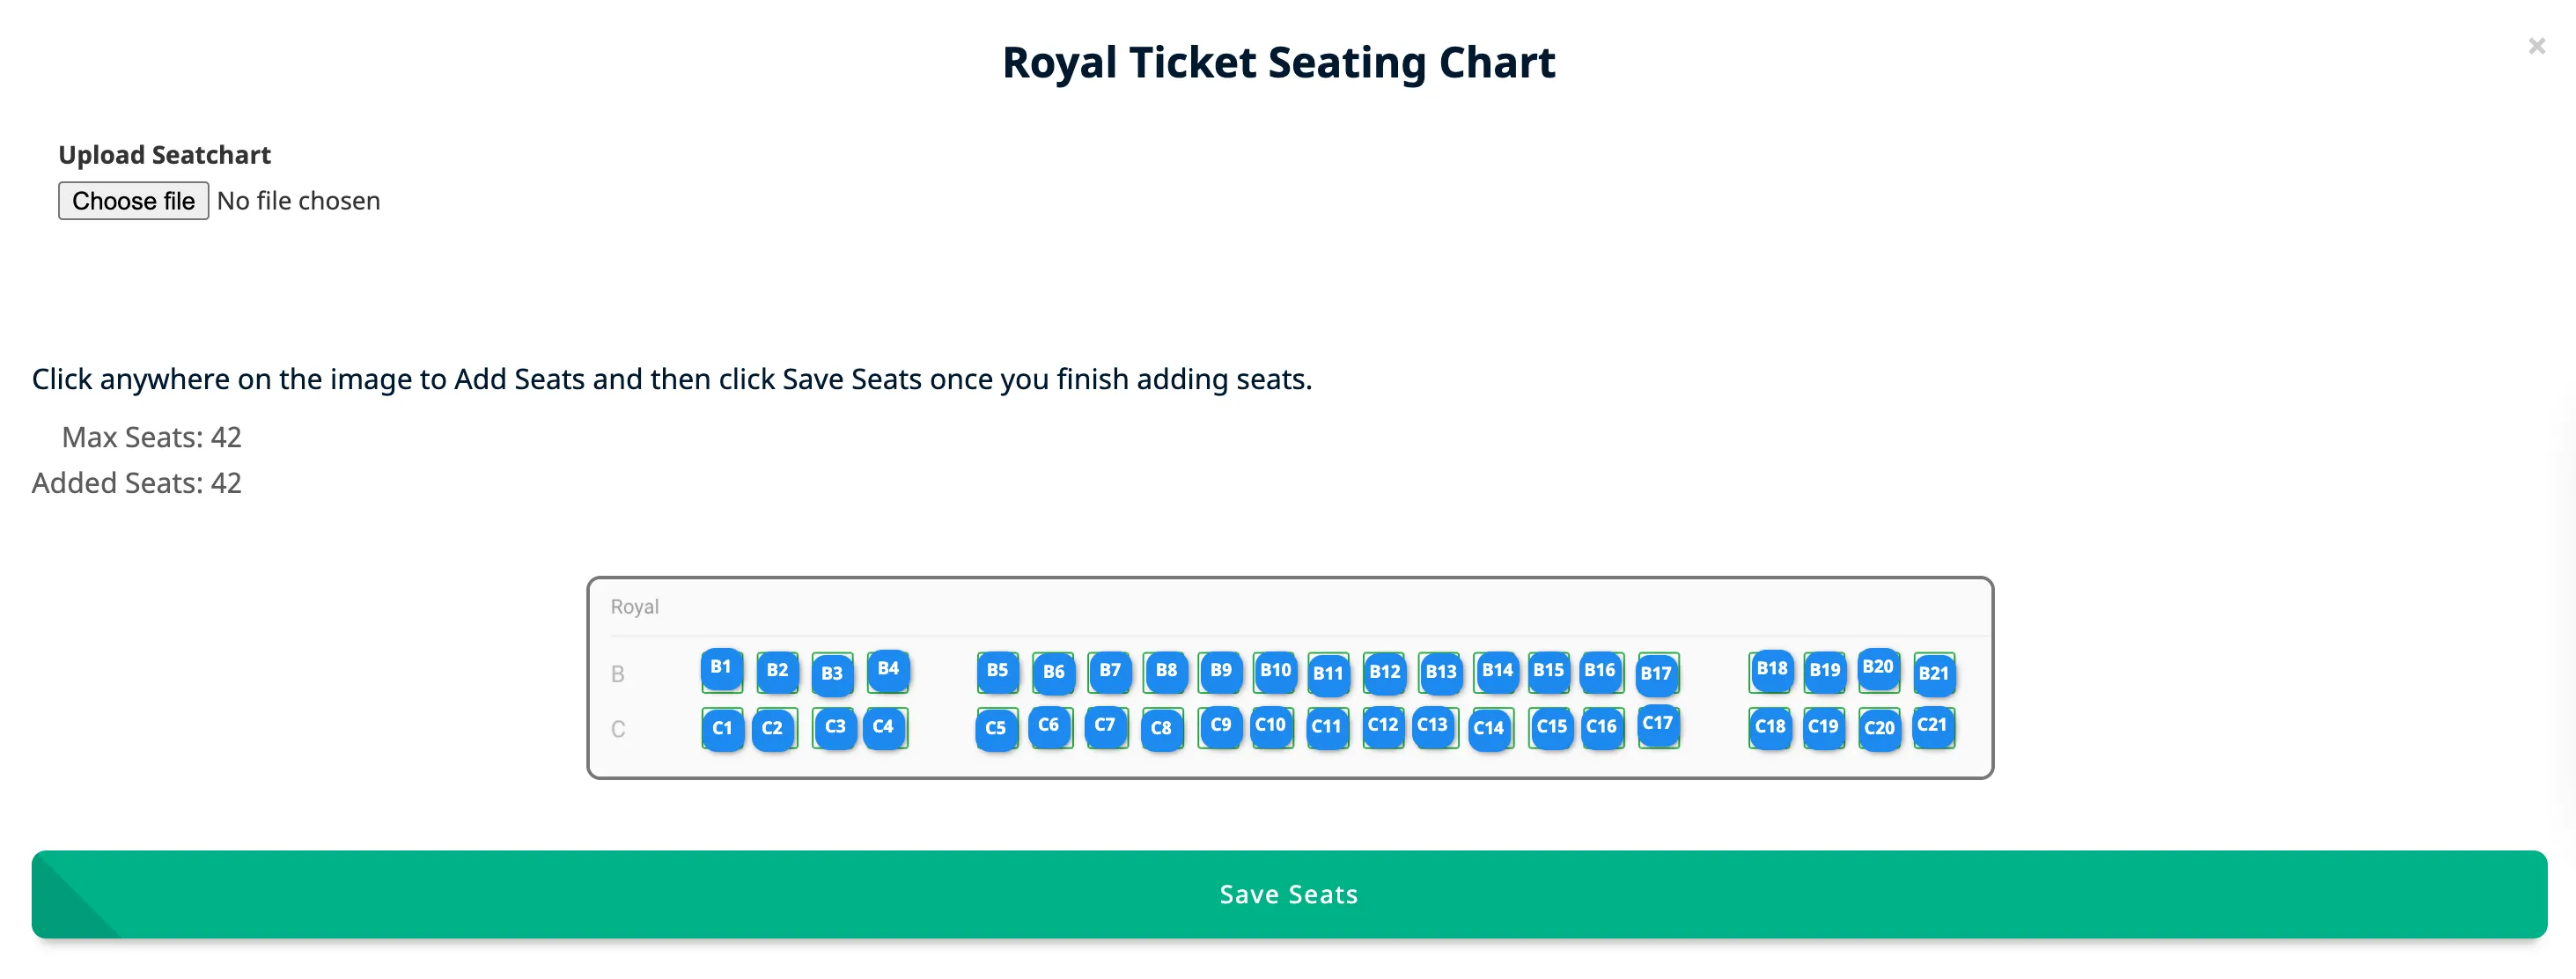
You can only add upto Max Seats which is Total Ticket Quantity.
-
Repeat the same steps to add Reserved seating for other multiple tickets.
-
To keep a ticket for General Seating (No reserved seating), then don't add Seats, and keep it as is.
-
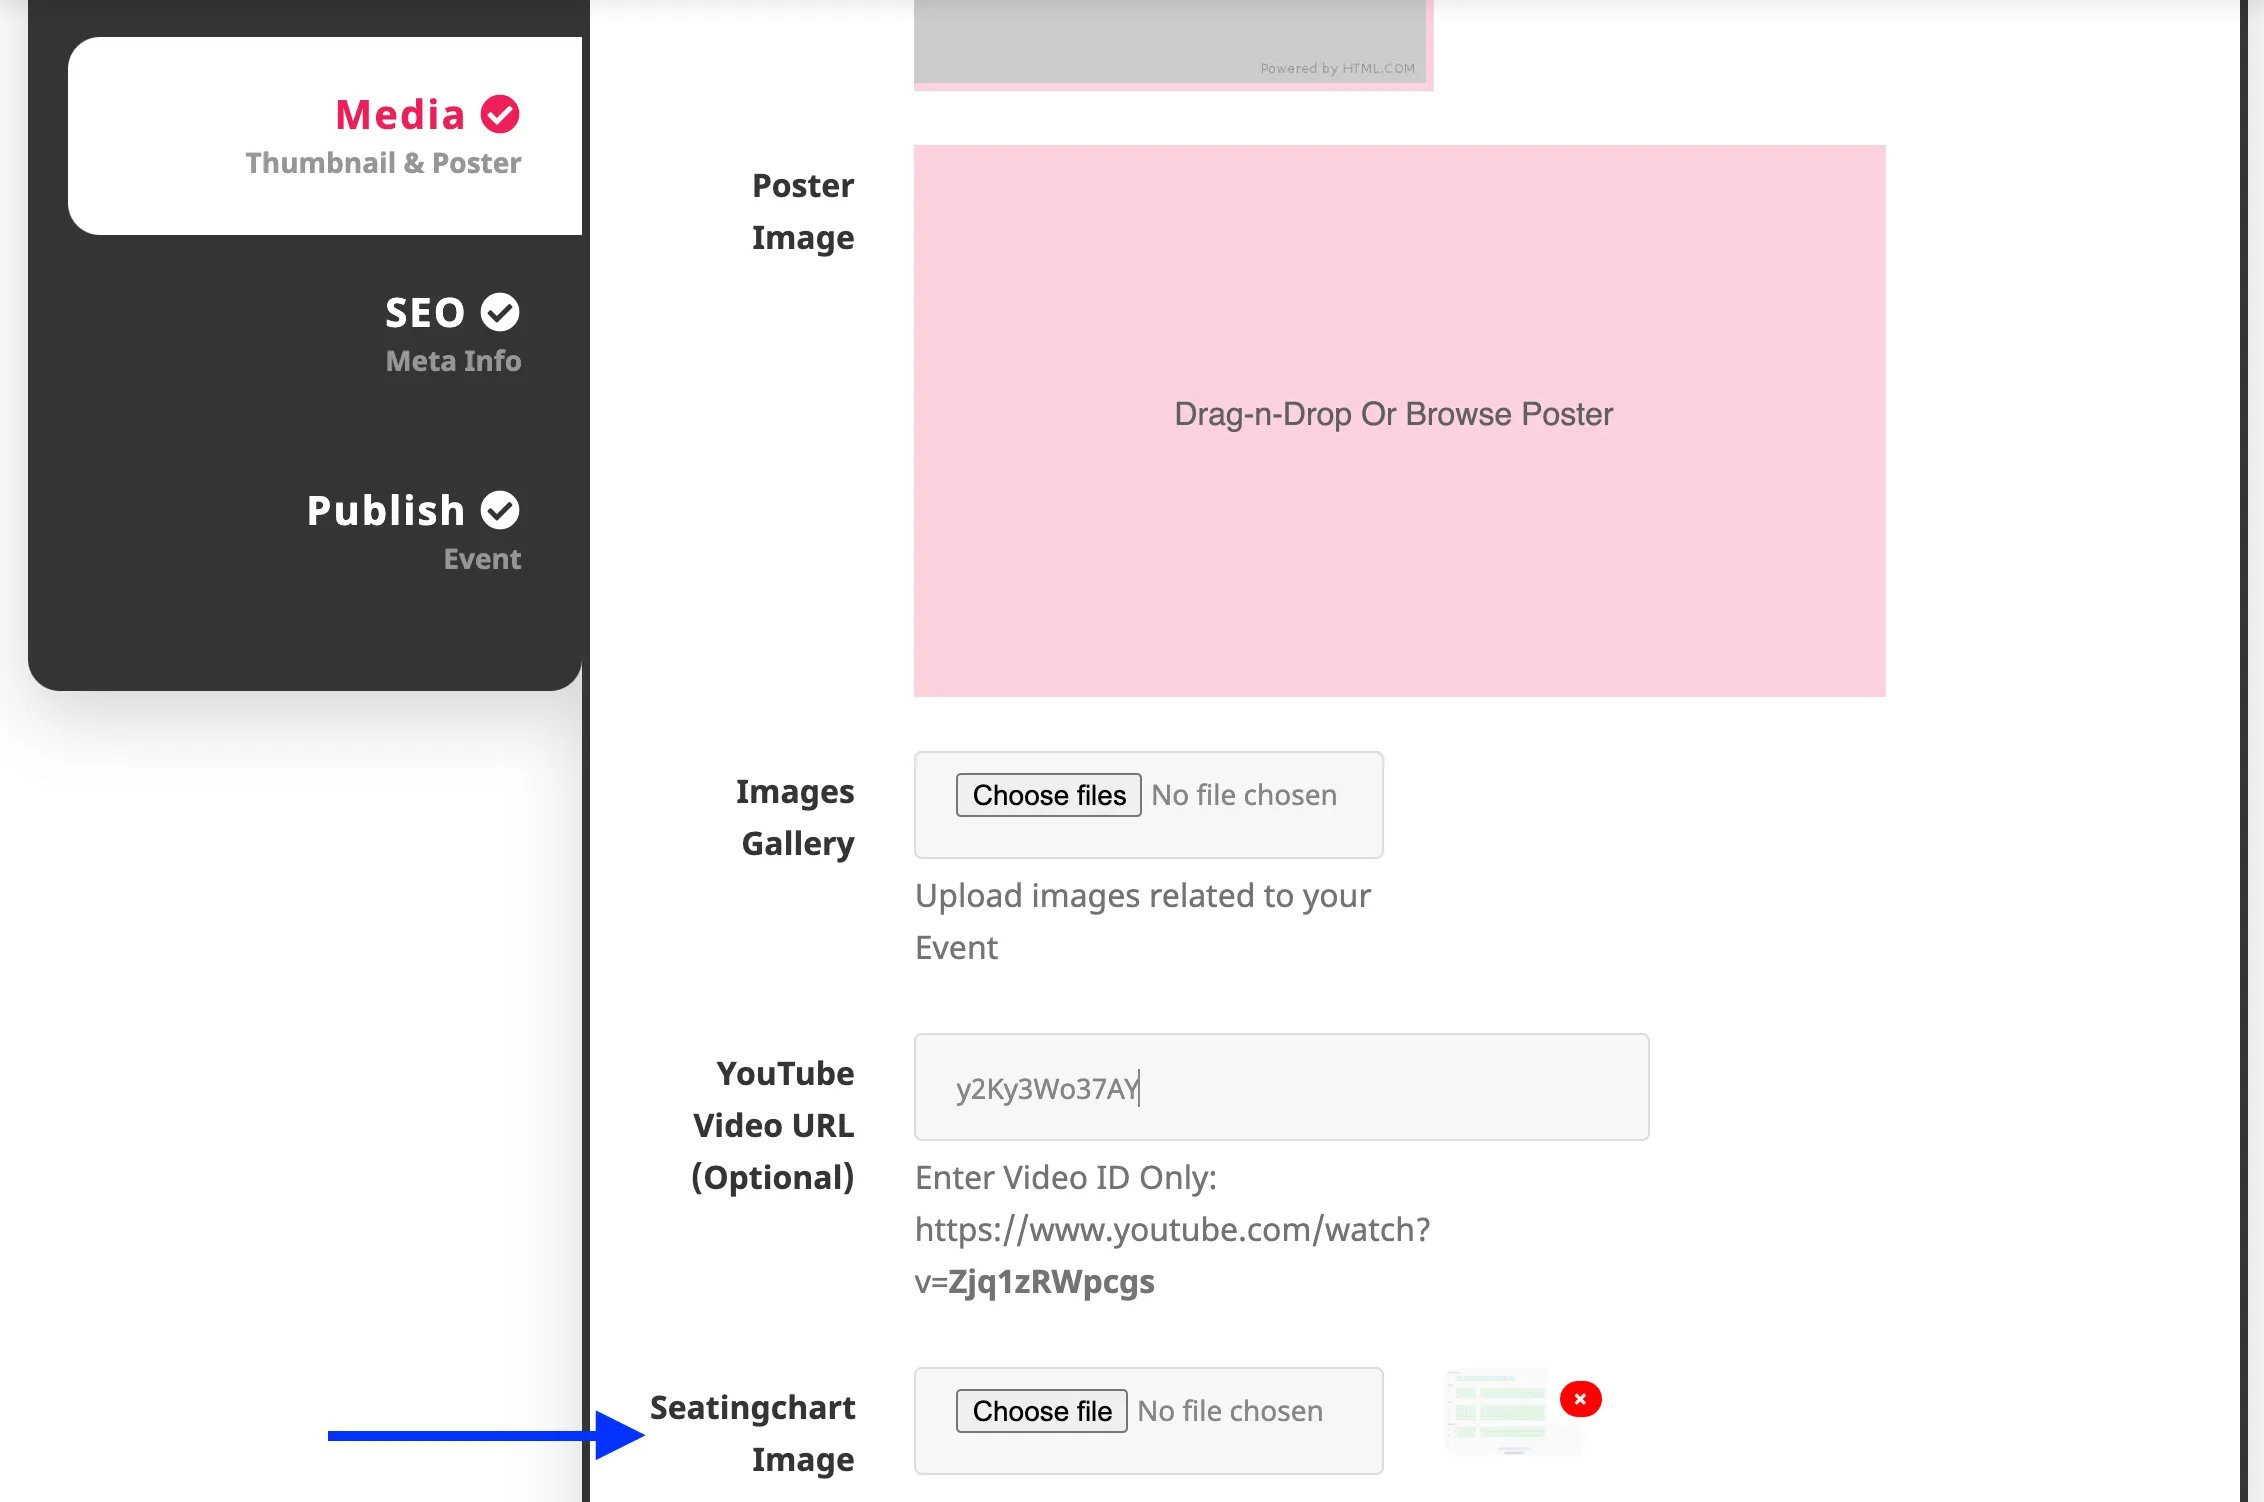
Finally, go to Media Tab and add the full image of seating arrangement in Seatingchart Image.
Booking Seats
Once you're done adding Reserved Seating, you can see the Reserved seating option on Event Page.
-
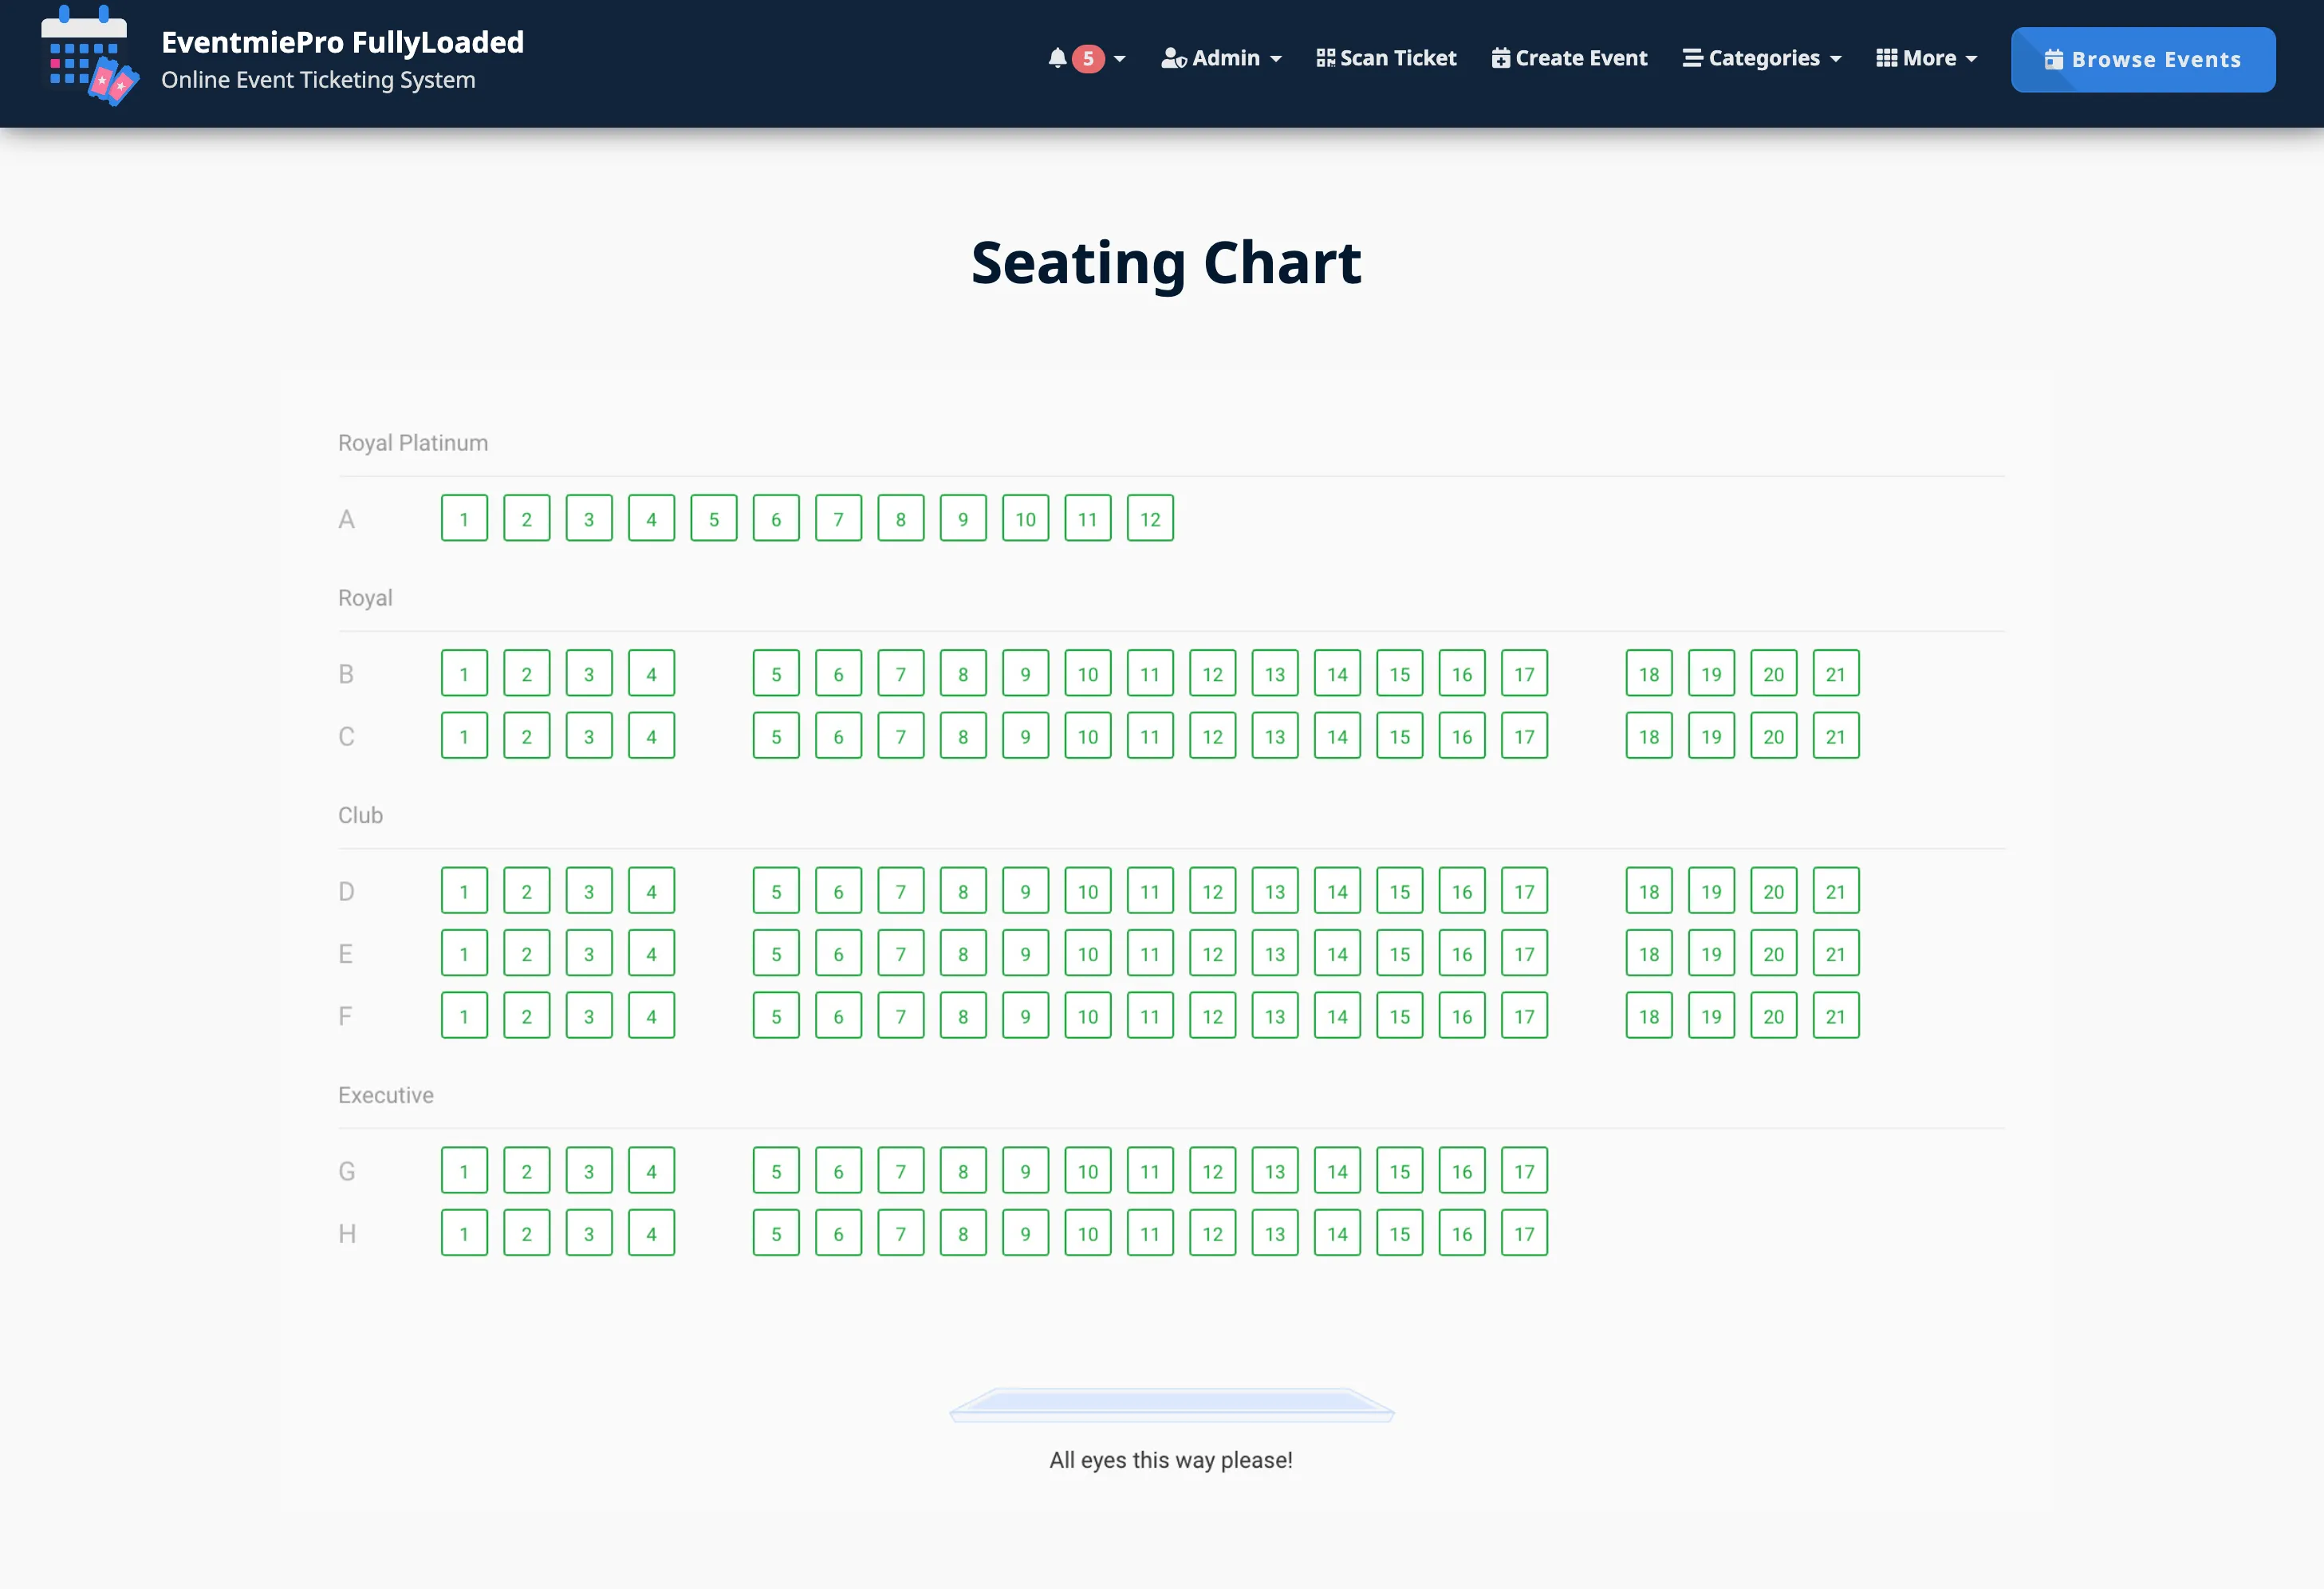
You can see the Full Seating arrangement image on the Event page.
-
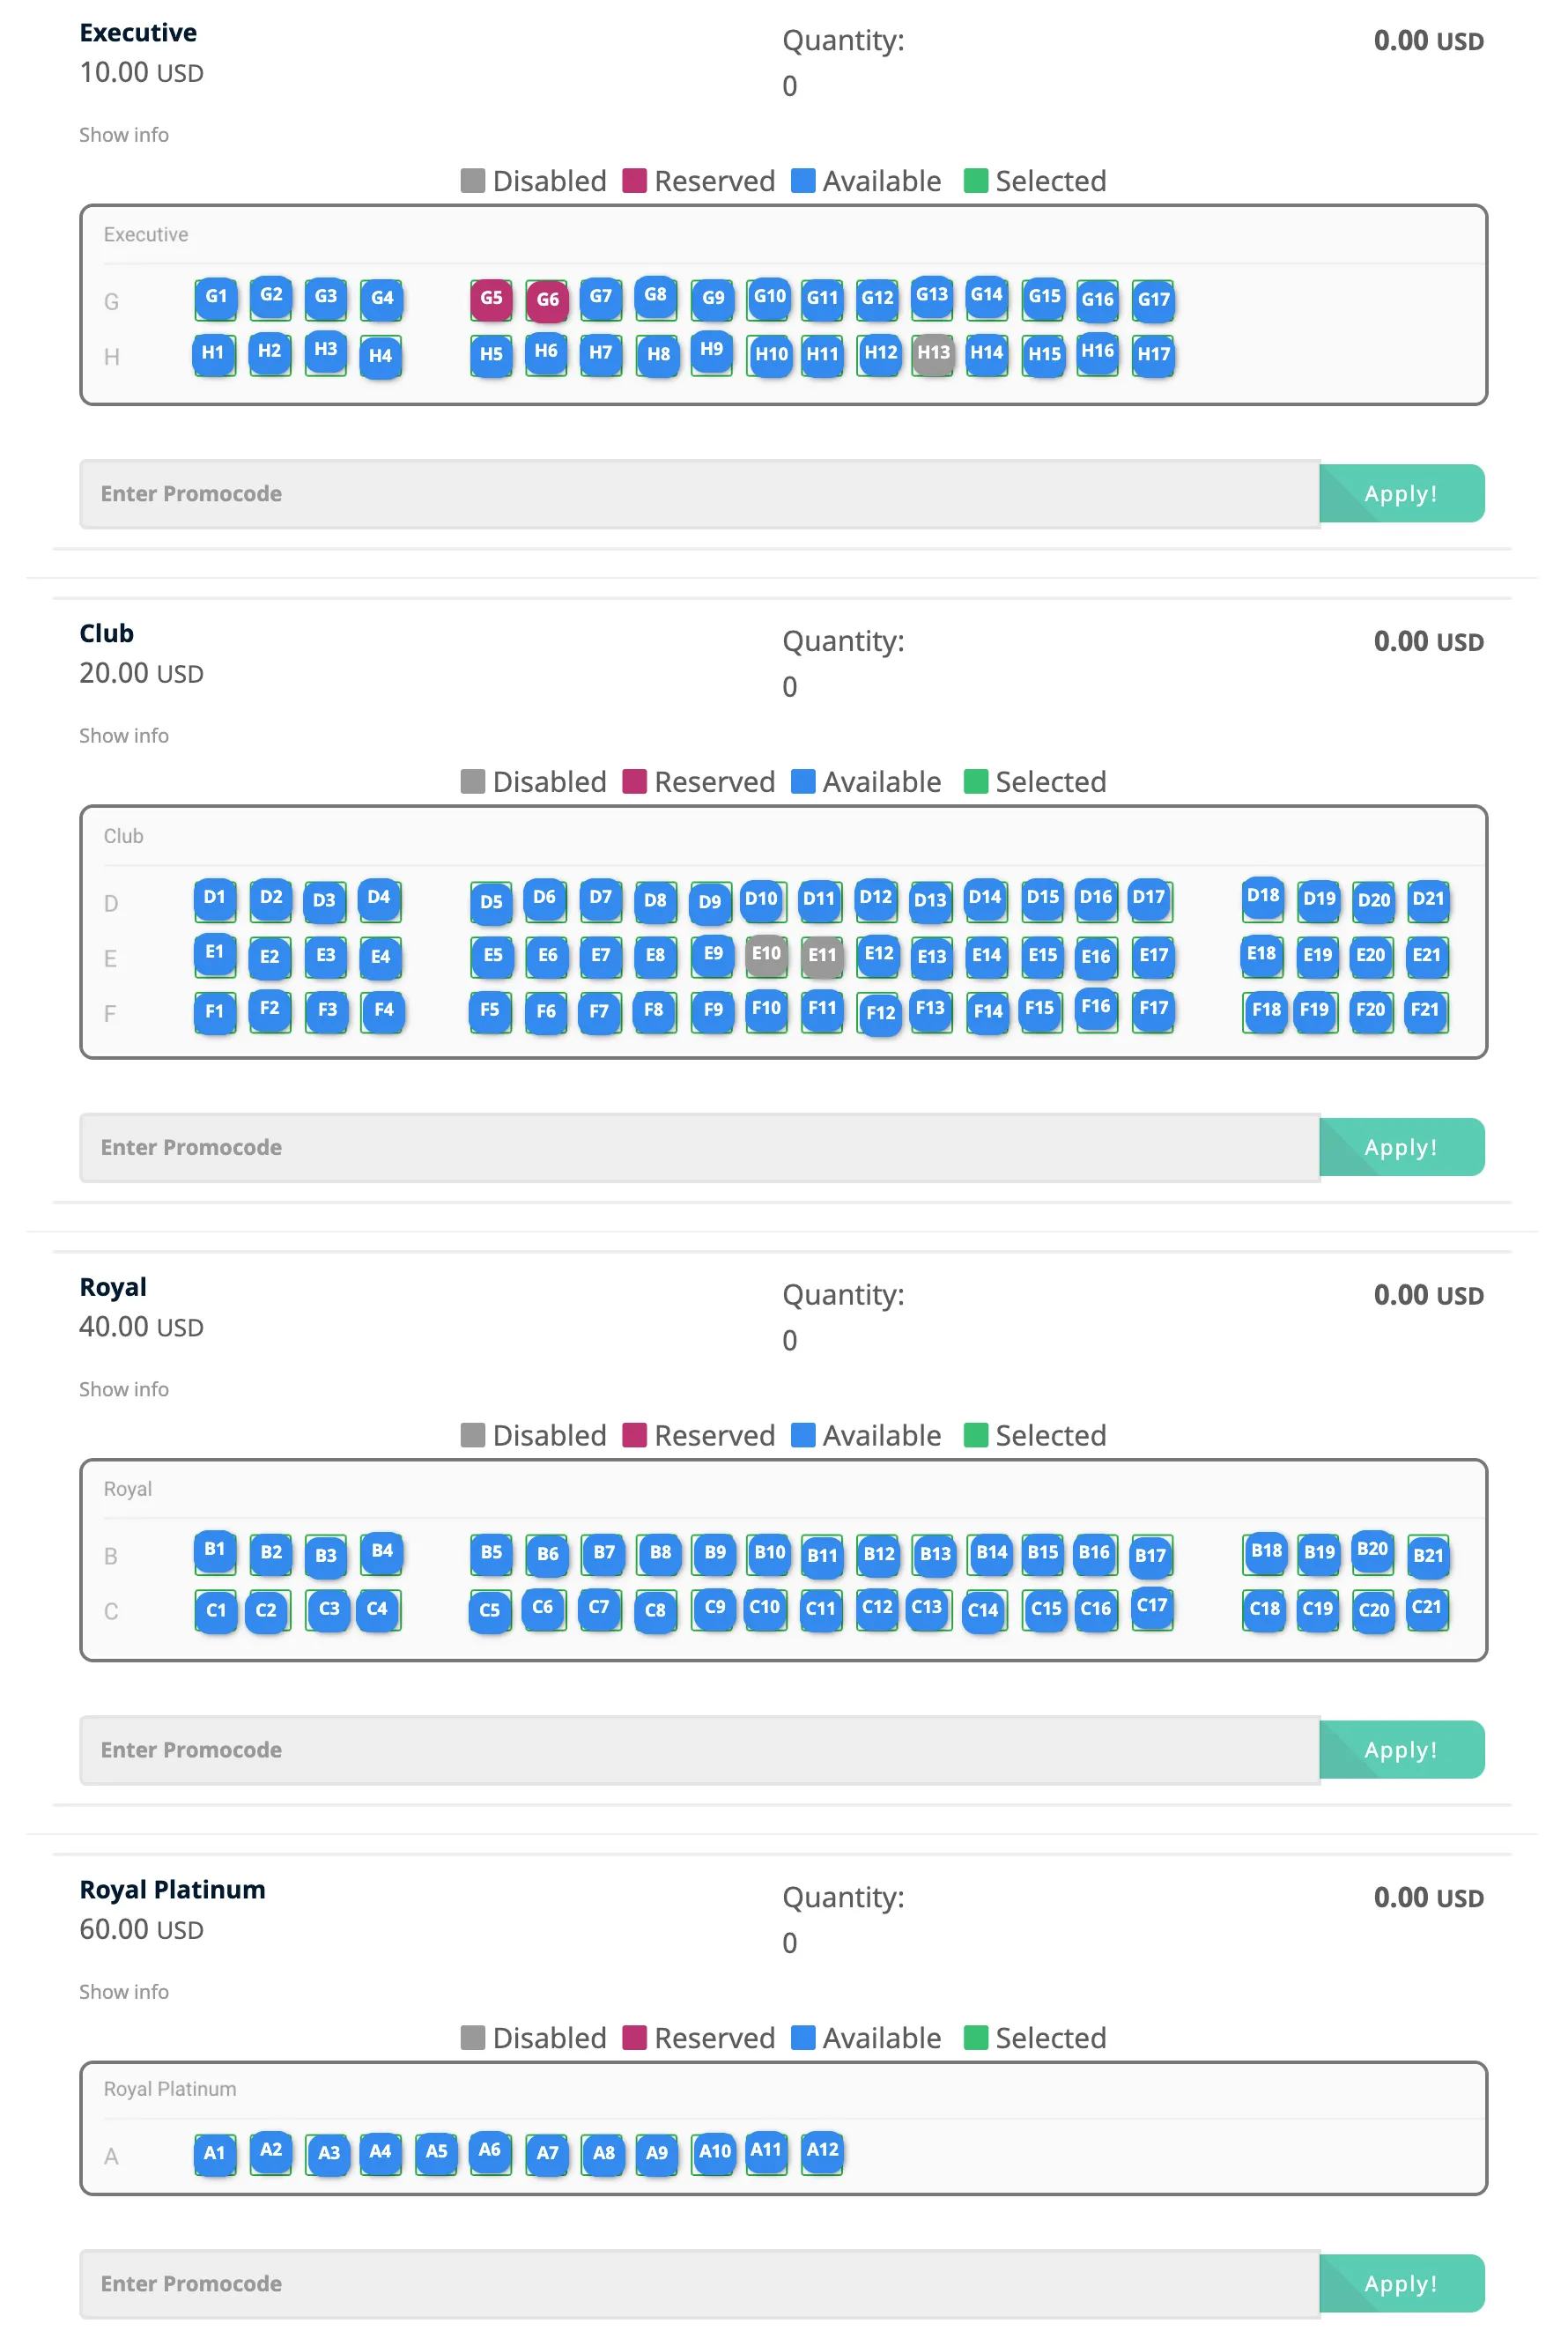
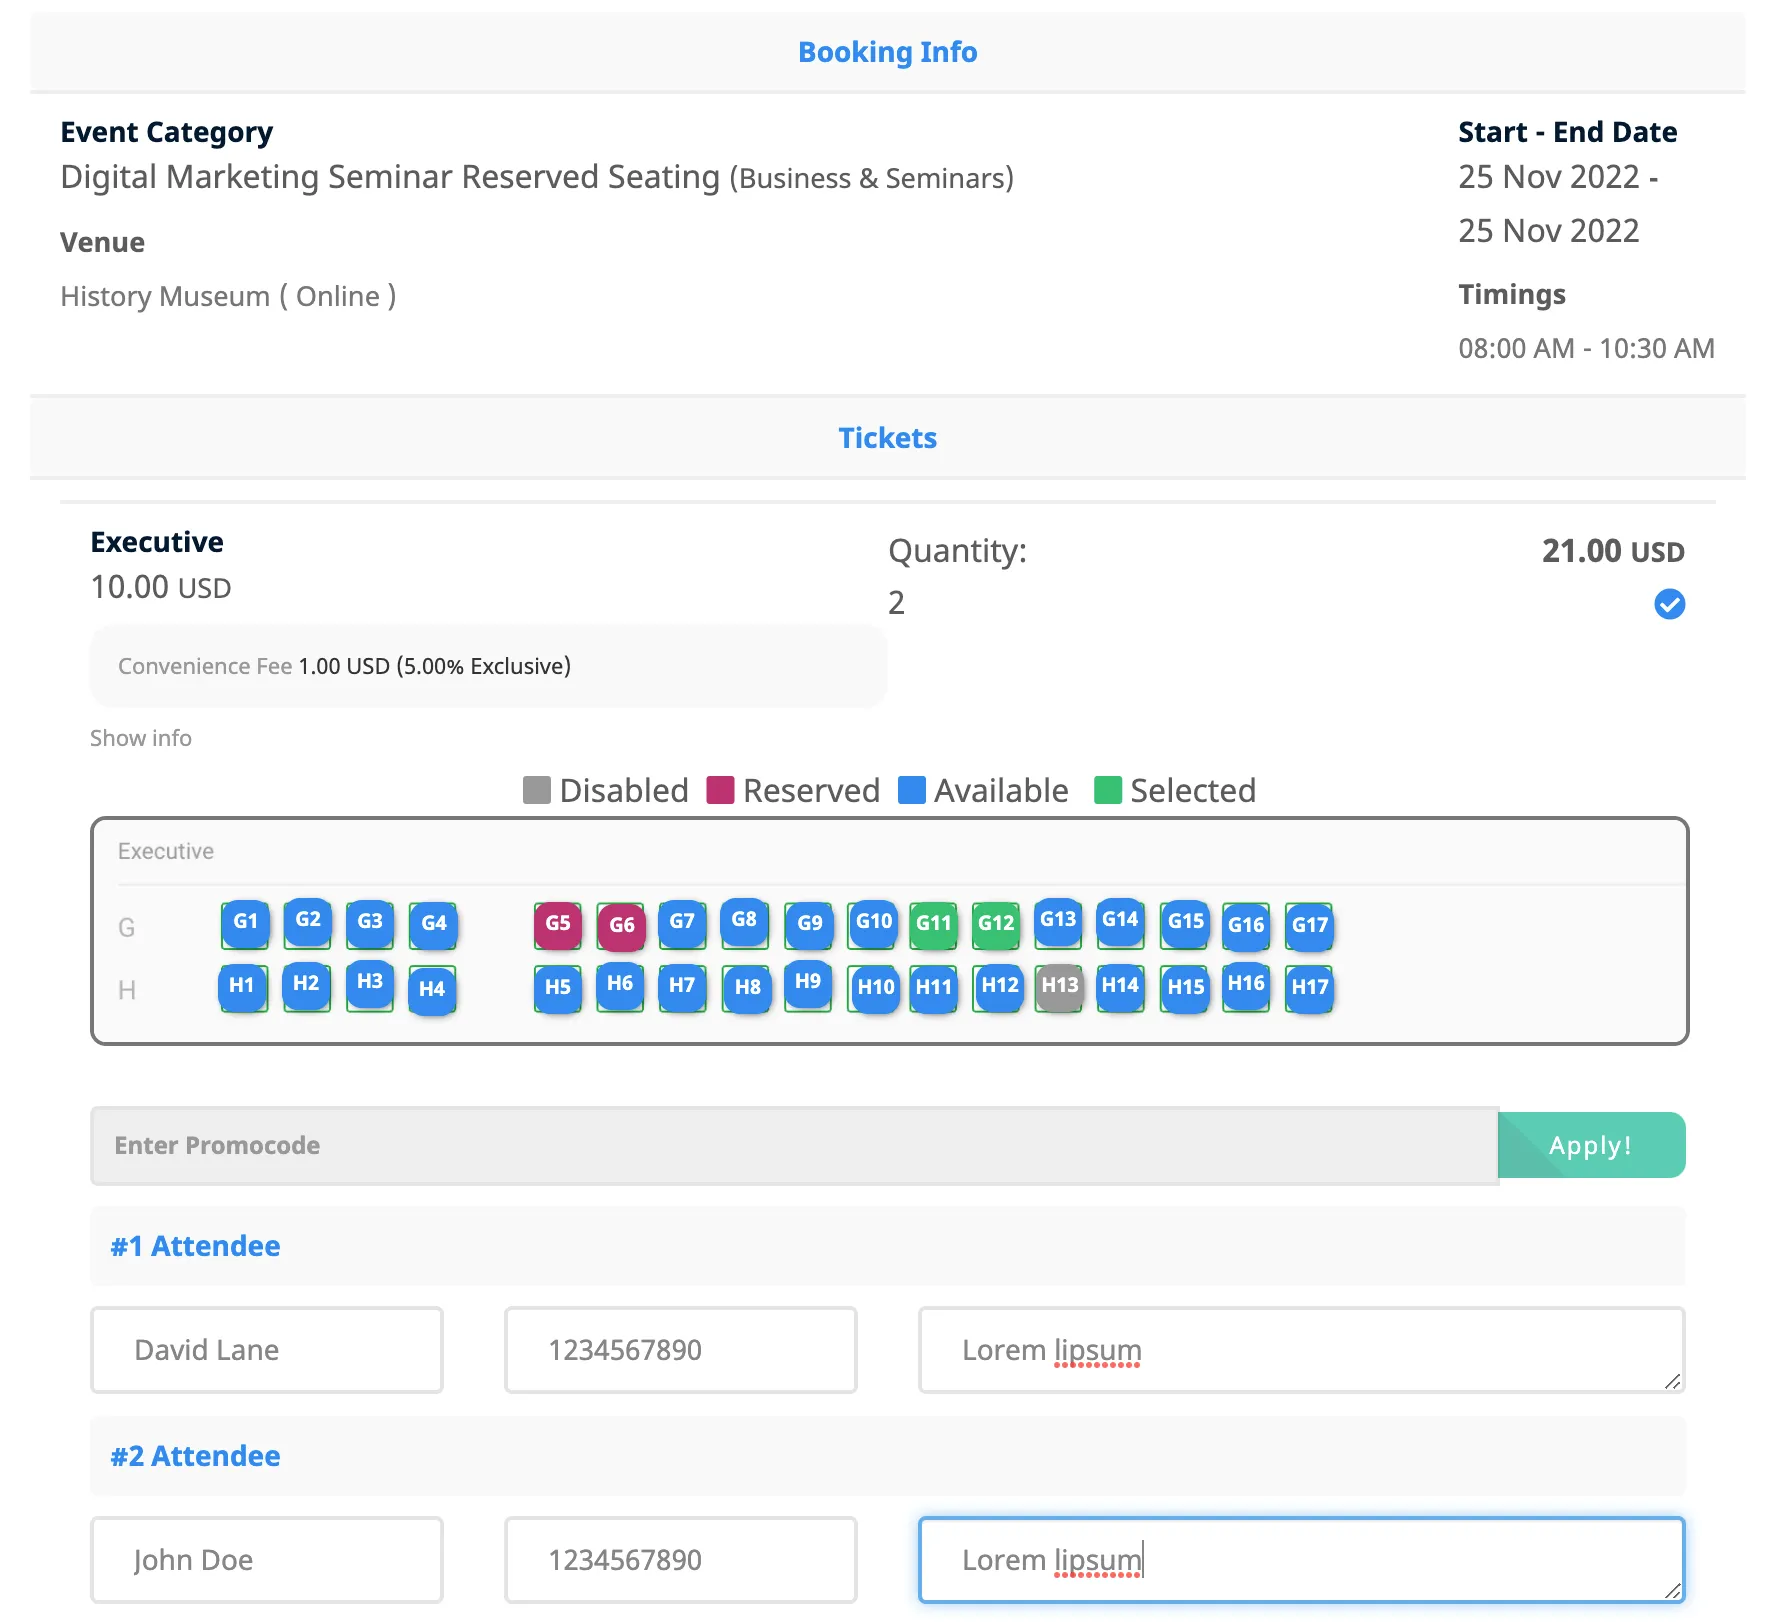
Then, on the Checkout popup, you can see the Reserved seating chart for each ticket.
-
Select seats that you wanna book and checkout. Simple.
-
You can see the legends showing Reserved, Selected, Available and Disabled seats.

-
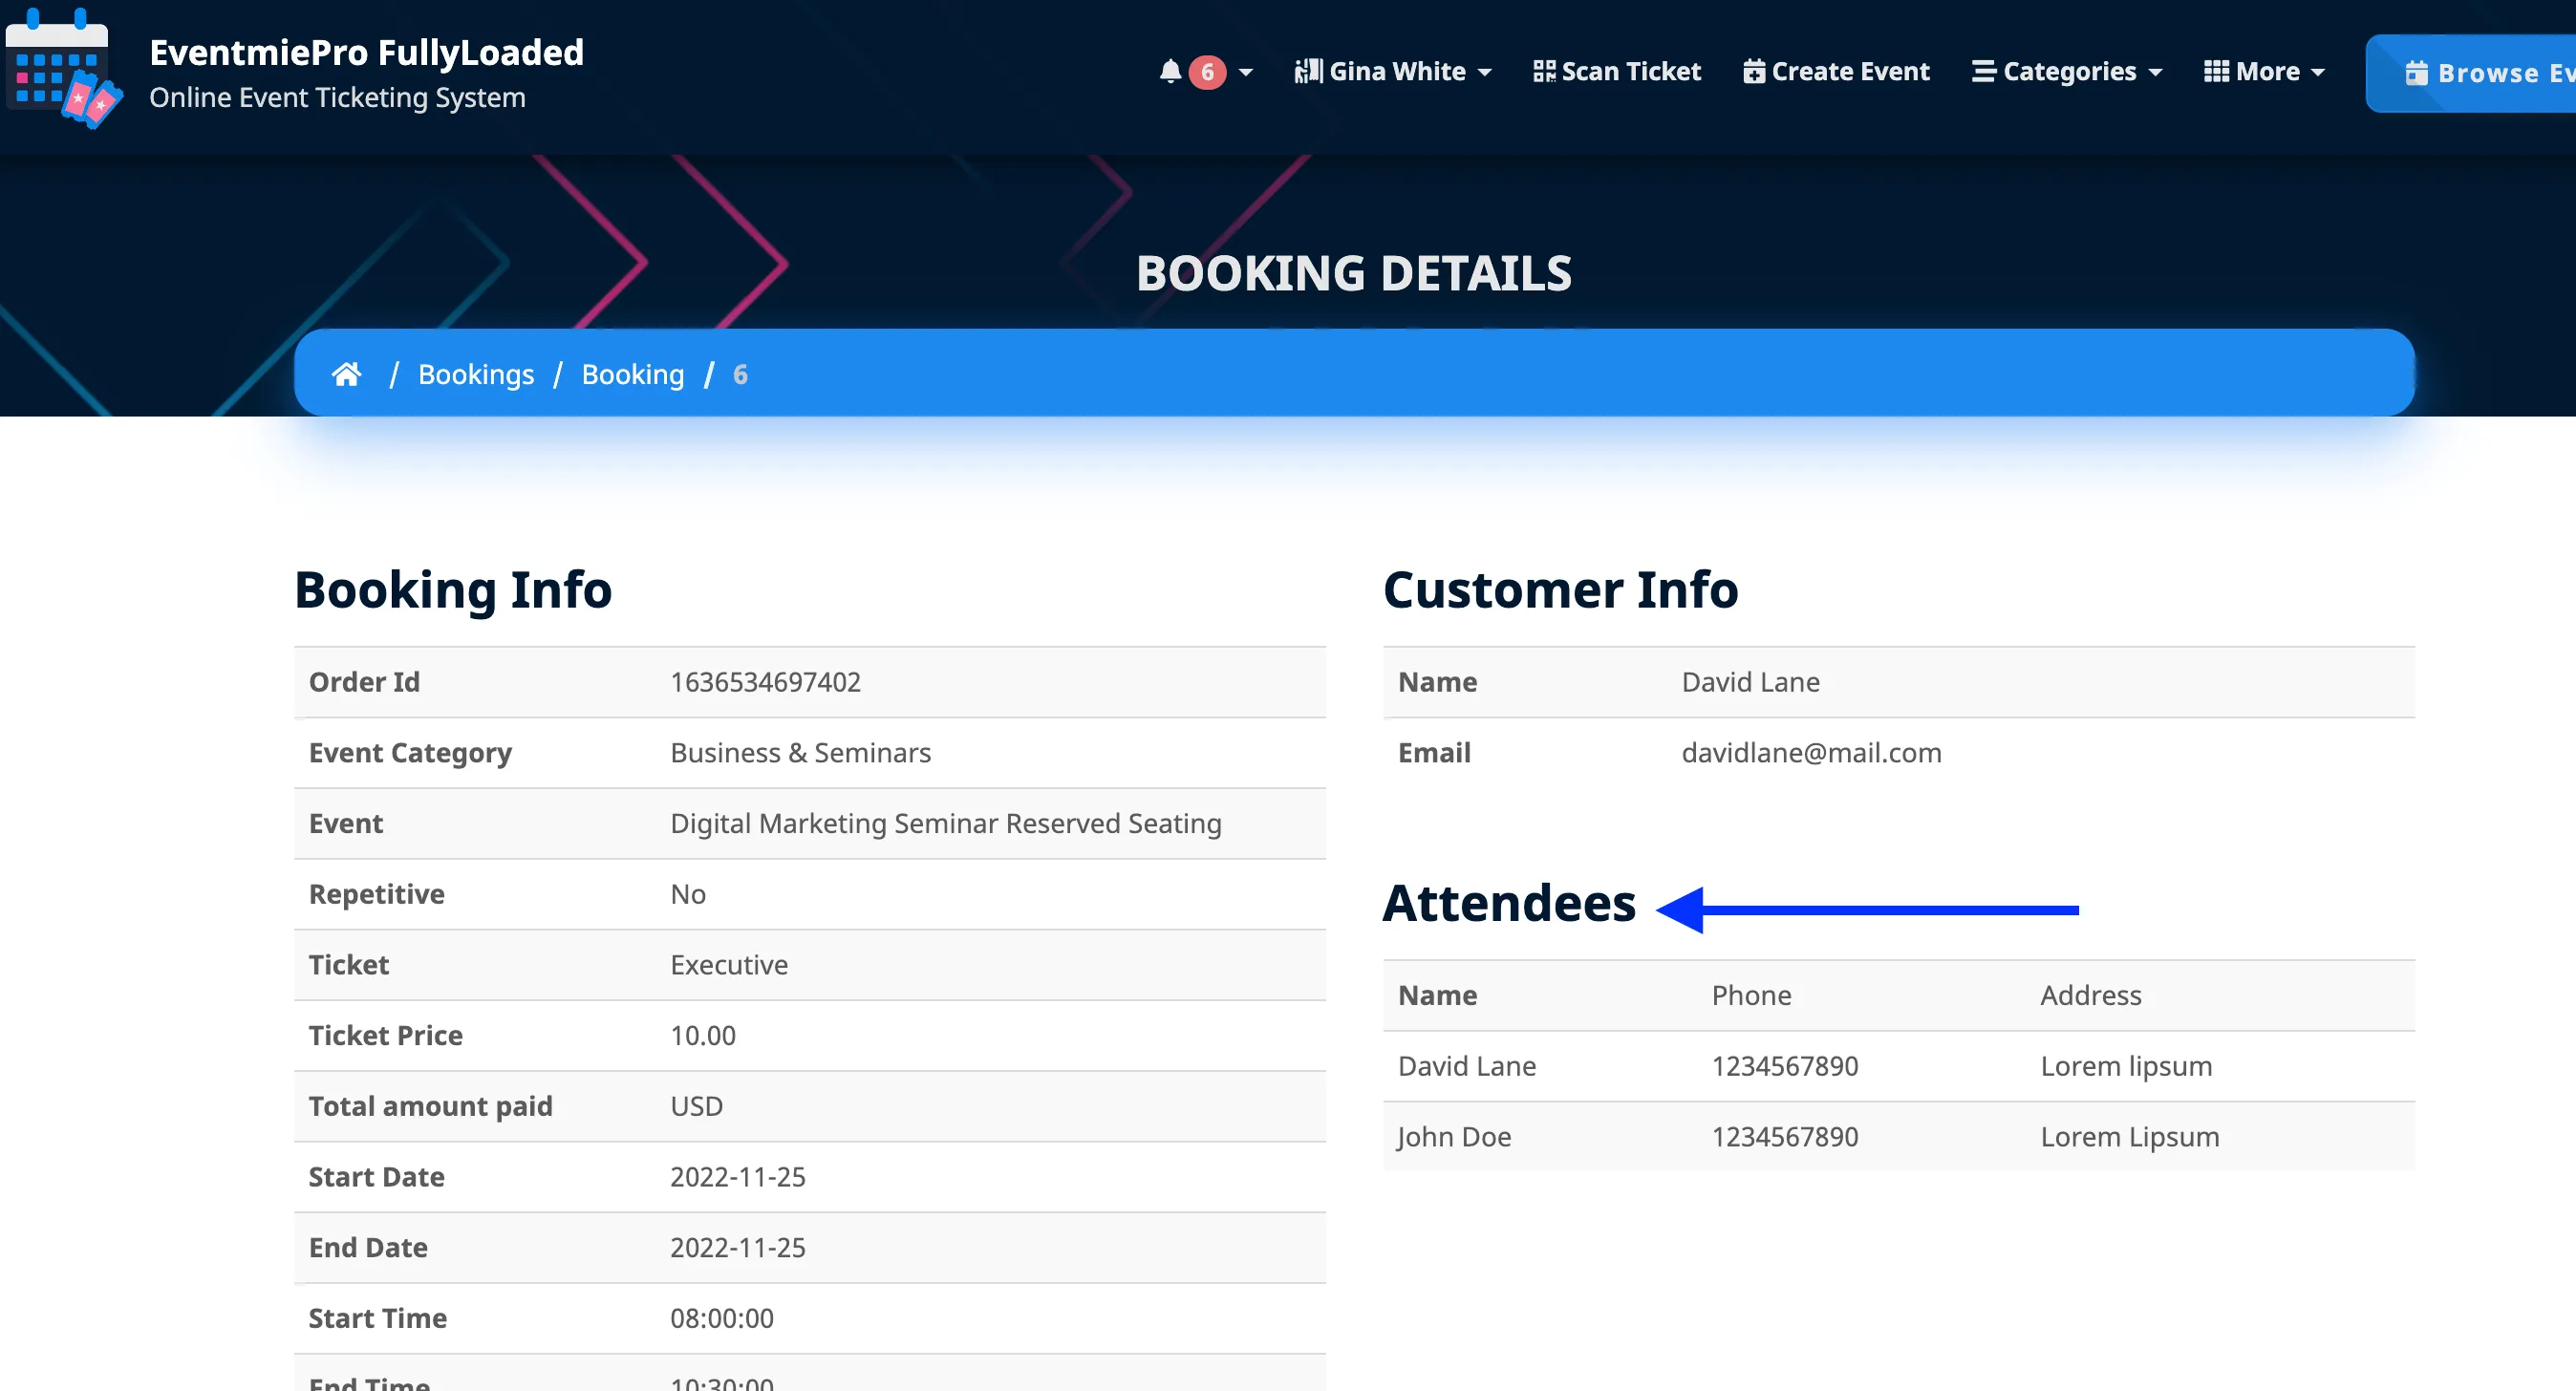
If the Attendee is booking multiple seats, then he/she need to add each Attendee name, phone and address.
-
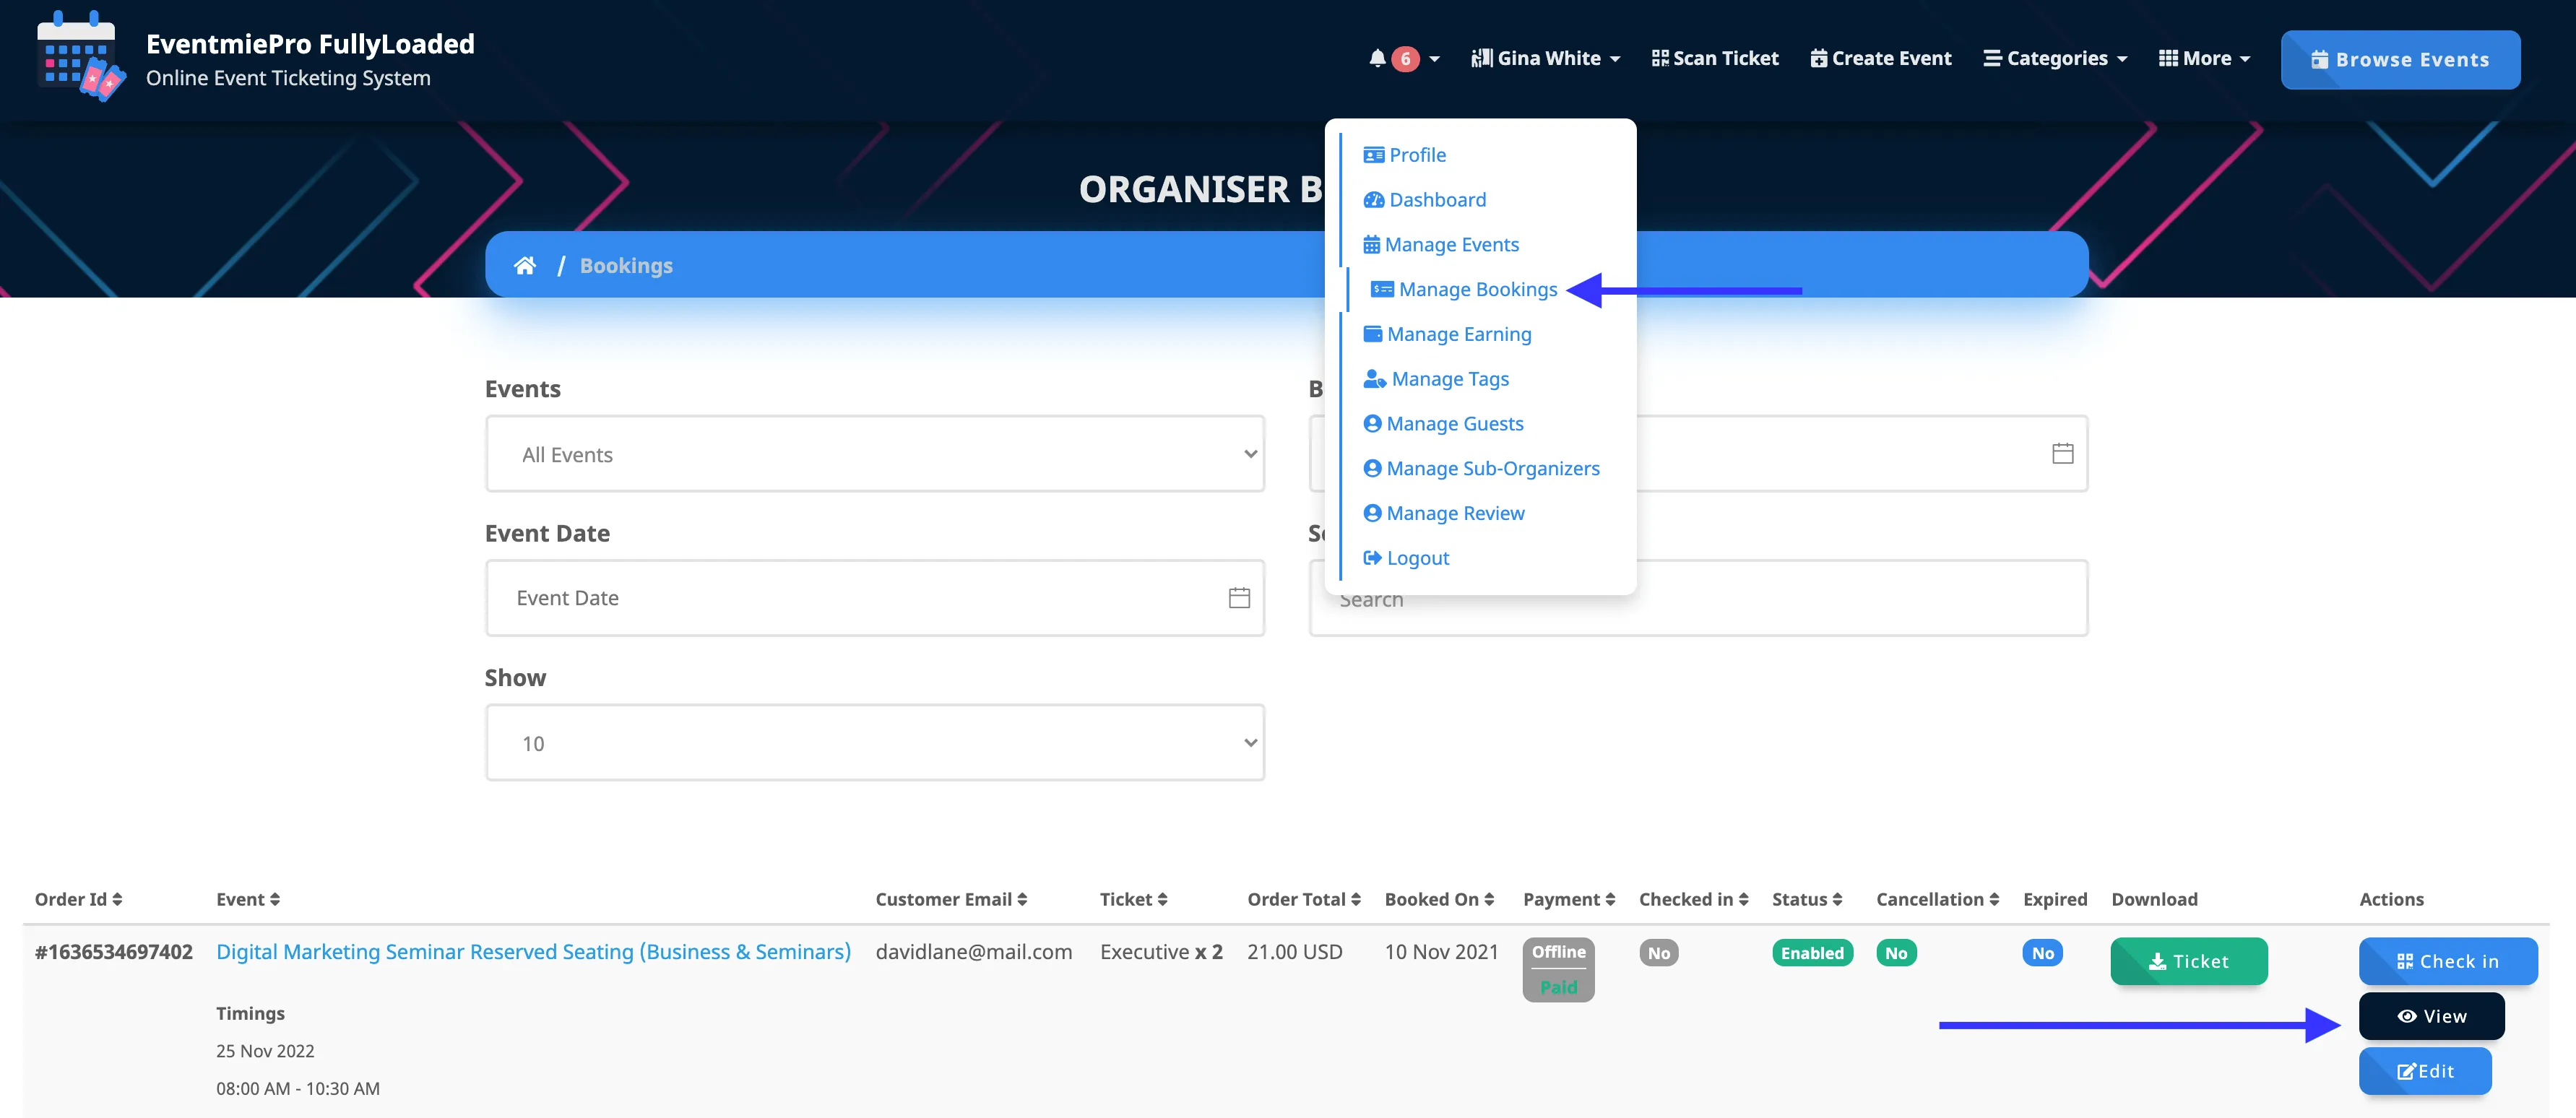
Organizer and Admin can see the Attendee details from Booking detail page.
